
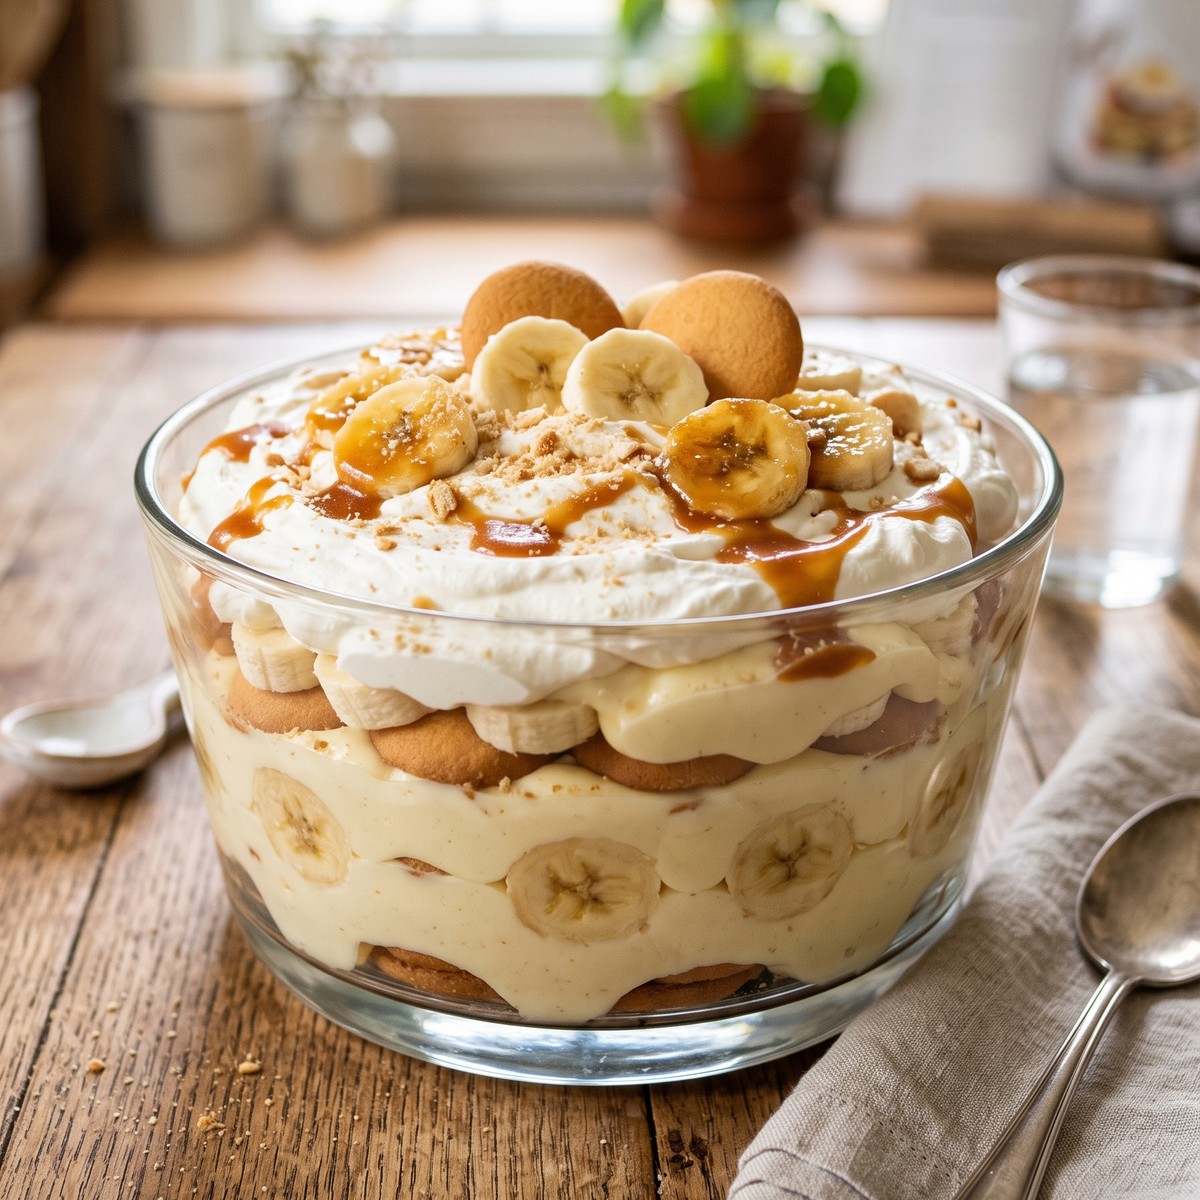
No-Bake Banana Pudding is a chilled layered dessert made with vanilla wafers, firm-ripe bananas, and a light vanilla cream filling. Instant pudding and sweetened condensed milk create a smooth base, while freshly whipped cream keeps every spoonful soft and airy instead of heavy. The wafers gradually soften as the pudding rests, giving the dessert its classic cake-like layers without turning the bananas mushy. It takes about 25 minutes to assemble, then the refrigerator does the rest. Serve it in a clear trifle bowl for a polished centerpiece or build it in a 9-by-13-inch dish for easy scooping at potlucks, cookouts, and relaxed weekend dinners.
Why This No-Bake Banana Pudding Works
This dessert balances creamy filling, tender wafers, and fresh banana slices with a practical make-ahead method that works well for sharing.
- No oven needed: The entire dessert is mixed, layered, and chilled, so it is especially useful when the kitchen is warm or oven space is limited.
- Reliable creamy texture: Instant vanilla pudding, cold whole milk, and condensed milk form a stable base that stays smooth beneath the fluffy whipped cream.
- Classic layered bite: Vanilla wafers soften just enough in the refrigerator to become cake-like while the banana rounds keep a fresh, tender center.
- Make-ahead friendly: Four hours of chilling gives the layers time to settle, making this dessert convenient for parties, potlucks, and planned weekend meals.
- Simple presentation: A clear trifle bowl shows off the layers, while a 9-by-13-inch dish makes portioning fast and tidy for a crowd.
Ingredients Notes
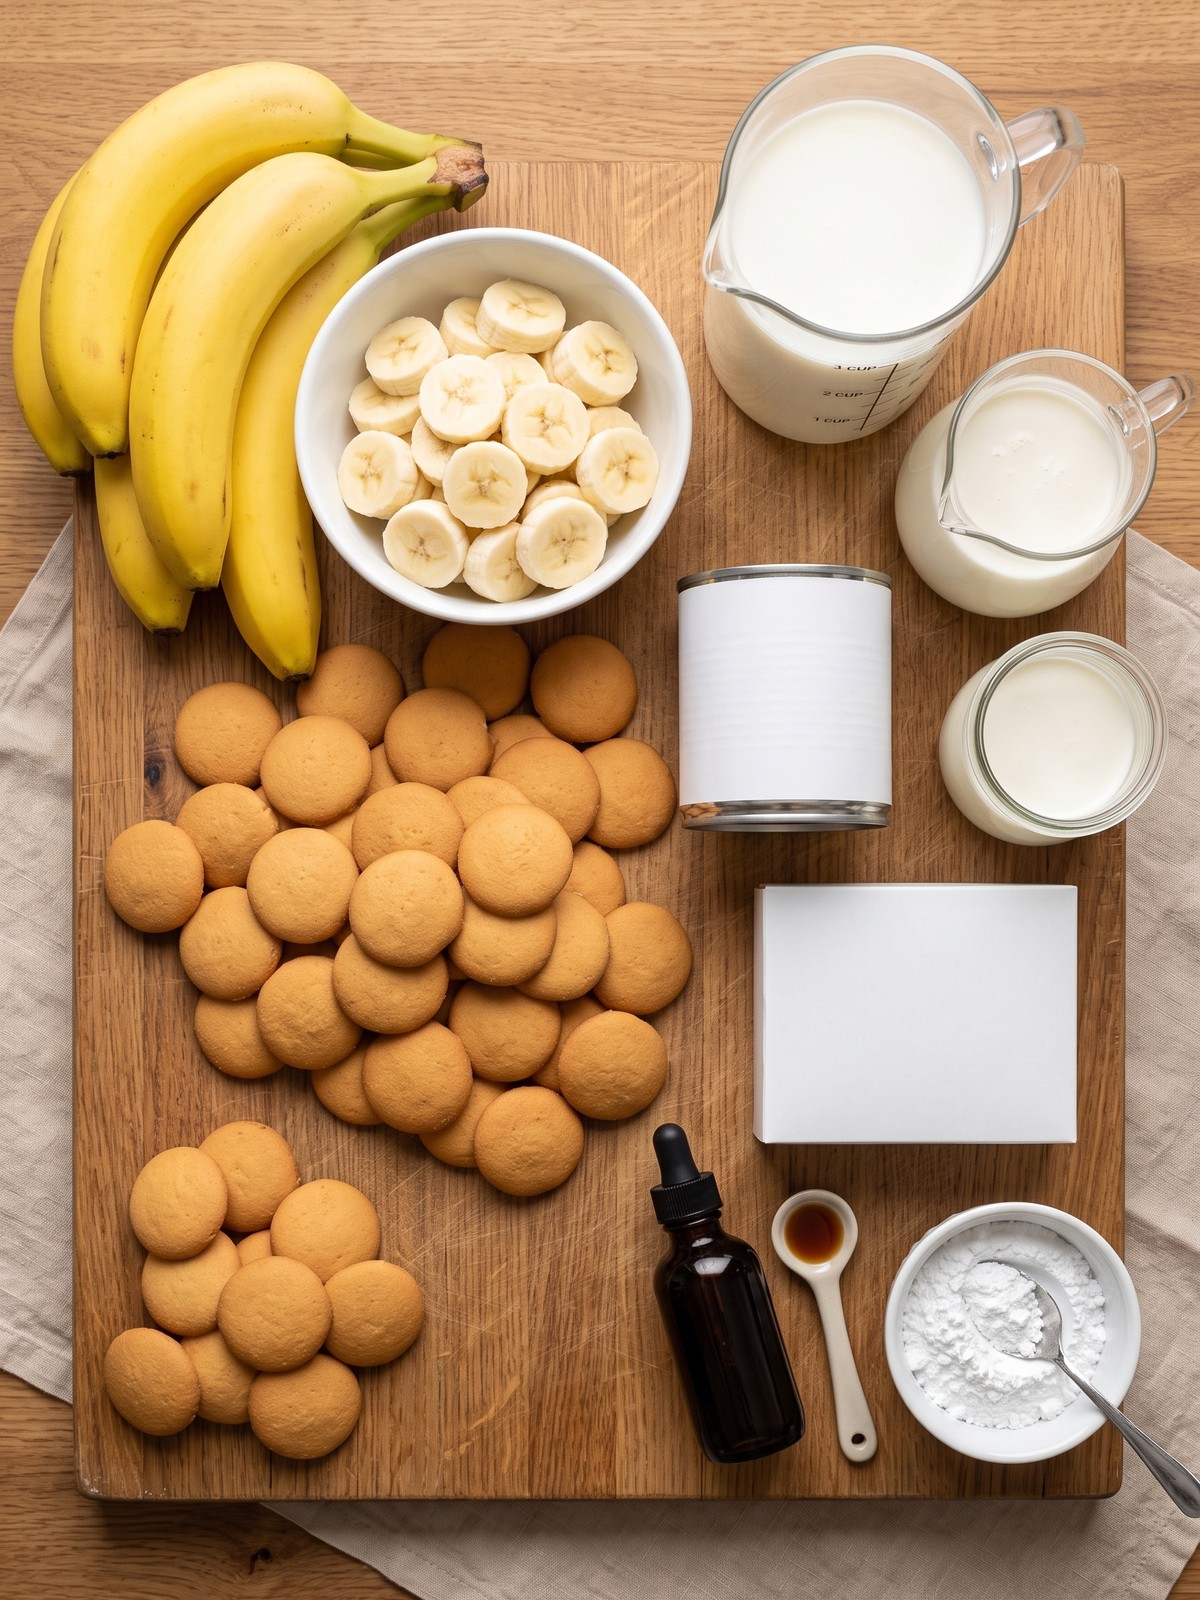
- Vanilla Wafers (11 oz / 312g): Use crisp, fresh wafers so they soften gradually rather than turning pasty. Reserve a handful for the top just before serving.
- Bananas (5-6 large): Choose firm-ripe fruit with yellow peels and only a few brown spots. Overripe bananas can become watery and dark during chilling.
- Sweetened Condensed Milk (14 oz / 396g): This adds sweetness and body to the pudding base. I use the full can for a rich but sliceable filling.
- Whole Milk (2 cups / 480ml): The milk must be very cold so the instant pudding thickens quickly and holds its structure after folding.
- Instant Vanilla Pudding Mix (5.1 oz / 144g): Use instant pudding, not cook-and-serve. I prefer regular vanilla for a familiar flavor that lets the bananas stand out.
- Heavy Whipping Cream (2 cups / 480ml): Keep it cold until mixing. Half is folded into the pudding for lightness, and half becomes the top layer.
- Powdered Sugar (1/2 cup / 60g): Powdered sugar dissolves smoothly into the cream and helps the whipped topping hold its shape during chilling.
- Vanilla Extract (1 tsp / 5ml): A small amount deepens the vanilla flavor in the whipped cream without competing with the fruit.
Before You Begin
- Choose the dish: Use a 9-by-13-inch dish for easy serving or a three-quart trifle bowl for visible layers.
- Chill the dairy: Cold milk and cream thicken faster, so keep both refrigerated until the moment they are needed.
- Slice late: Cut the bananas immediately before layering to limit browning and keep the rounds neat and firm.
- Plan the chill: Allow at least four hours in the refrigerator, though an overnight rest creates the softest wafer layers.
I fold only half of the whipped cream into the pudding base, then save the rest for the top so the filling stays airy and the finish looks clean.
How to Make No-Bake Banana Pudding
- Step 1 – Prepare the Dish: Set aside several vanilla wafers for garnish, then arrange the remaining ingredients and a 9-by-13-inch dish or three-quart trifle bowl near the work area.
- Step 2 – Mix the Pudding Base: Whisk the cold whole milk, sweetened condensed milk, and instant vanilla pudding mix for about two minutes, then rest the mixture five minutes until noticeably thick.
- Step 3 – Whip the Cream: Beat the cold heavy cream, powdered sugar, and vanilla extract until stiff peaks form and the cream holds a defined shape when the beaters lift.
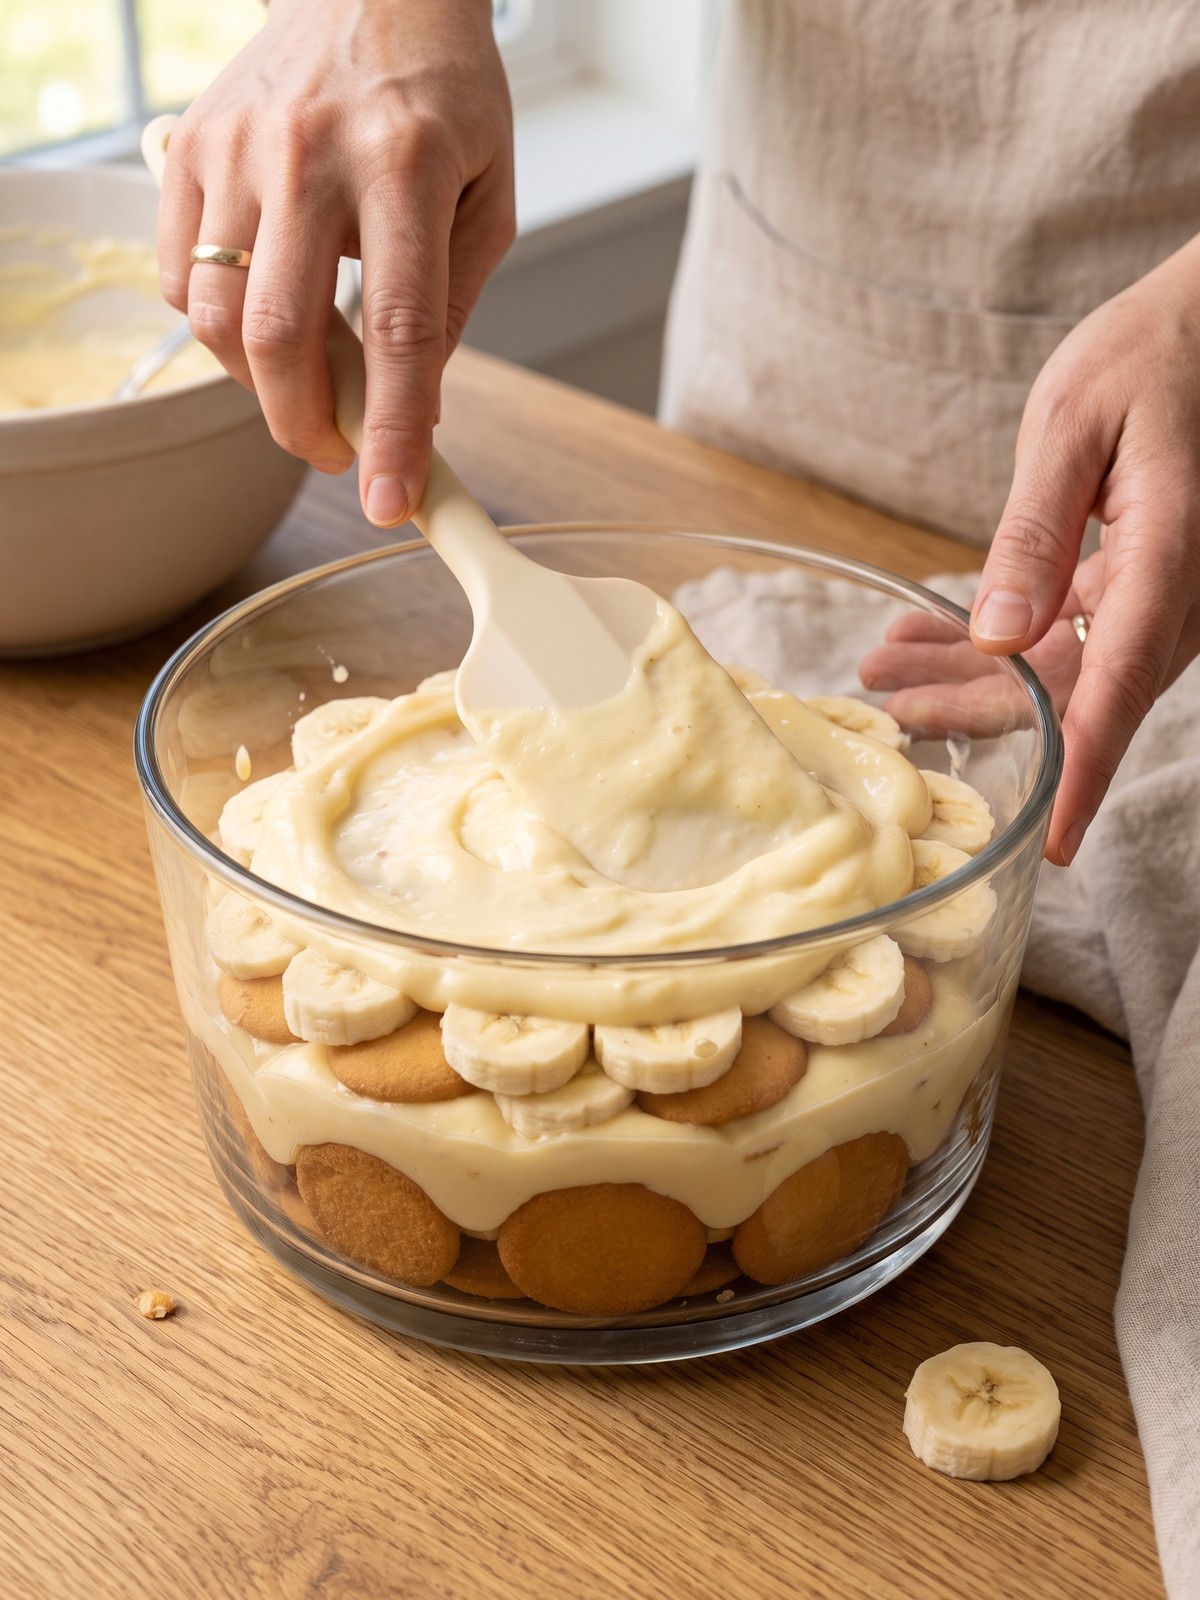
- Step 4 – Lighten the Filling: Fold half of the whipped cream into the thickened pudding in two additions, using broad strokes to keep the mixture fluffy and evenly combined.
- Step 5 – Build the First Layer: Cover the bottom of the dish with vanilla wafers, add an even layer of banana rounds, then spread over half of the pudding filling.
- Step 6 – Repeat the Layers: Add another layer of wafers and bananas, spread over the remaining pudding filling, and finish with the reserved whipped cream.
- Step 7 – Chill and Garnish: Cover and refrigerate for at least four hours. Add crushed or whole reserved wafers and fresh banana slices just before serving.
How to Know It’s Done
- Filling texture: The pudding should be thick enough to hold soft scoops without running across the serving dish.
- Wafer texture: The cookies should feel tender and cake-like while still keeping a faint layered outline.
- Chill time: Four hours gives a scoopable result, while eight to twelve hours creates softer, more settled layers.
- Serving temperature: The dessert should be fully cold through the center and remain refrigerated until portions are served.
Nora’s Tips for Best Results
- Use firm-ripe bananas: Slightly firm fruit keeps the layers tidy and avoids the watery texture that very soft bananas can create.
- Whisk thoroughly: Scrape the bowl while mixing the pudding so no dry pockets remain and the base thickens evenly.
- Fold gently: I use a wide silicone spatula and turn the mixture from the bottom upward to preserve the whipped cream’s volume.
- Cover the surface: Press plastic wrap close to the top layer before chilling to protect the cream from refrigerator odors.
- Garnish at serving: Add fresh banana rounds and crisp wafers at the last minute so the topping stays bright and textured.
Storage & Leftovers Tips
- Fridge: Cover tightly and refrigerate for up to three days, though the bananas and wafers have their best texture within two days.
- Freezer: Freezing is not recommended because thawed bananas darken and the pudding may separate or become grainy.
- Serving leftovers: Spoon portions directly from the refrigerator and return the dish promptly rather than letting it sit at room temperature.
- Texture protection: Keep extra crushed wafers separate and sprinkle them over individual servings to restore a little crisp contrast.
- Food safety: Discard the dessert if it has remained at room temperature for more than two hours.
Variations & Substitutions
- French vanilla version: Replace regular vanilla pudding with French vanilla instant pudding for a slightly richer custard-style flavor.
- Cookie swap: Use shortbread cookies or graham crackers when vanilla wafers are unavailable, keeping the layers thin enough to soften evenly.
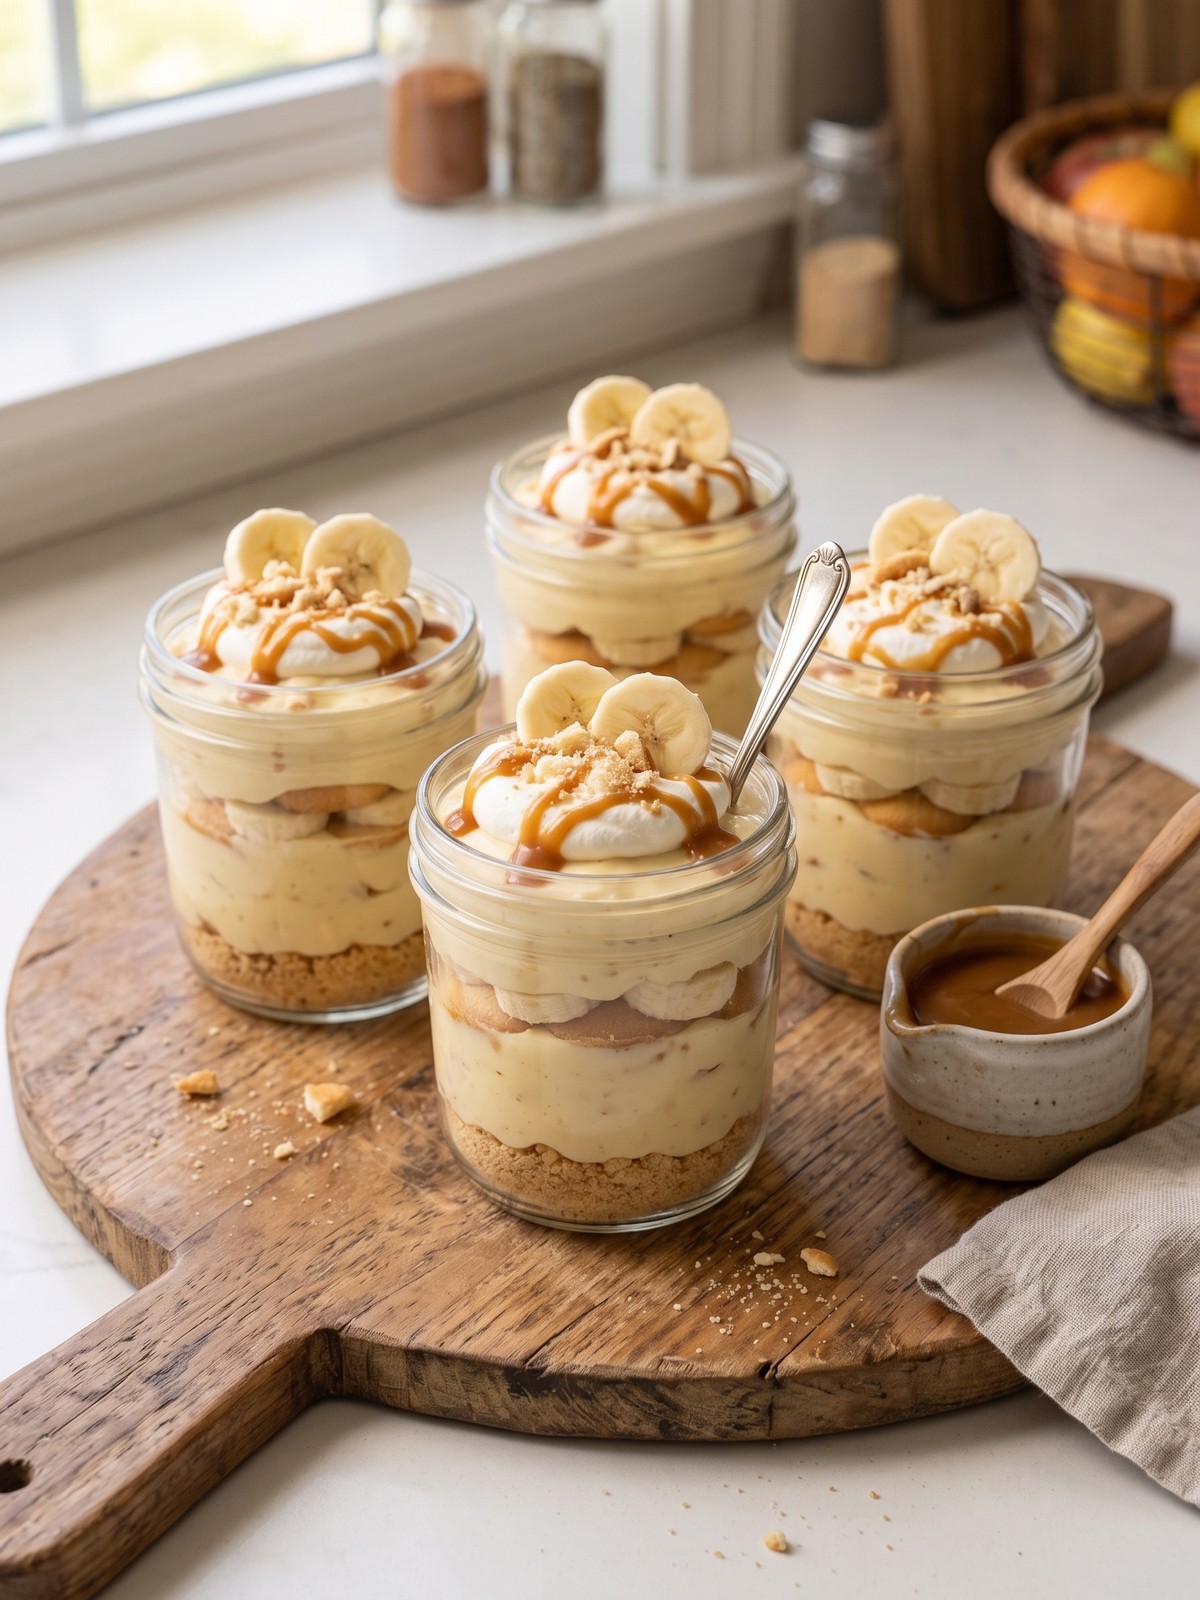
- Caramel banana pudding: Drizzle a light layer of caramel sauce over the bananas, using a restrained amount so the dessert does not become overly sweet.
- Individual cups: Build the dessert in clear cups or jars for tidy party portions and a shorter two- to three-hour chilling time.
- Extra banana flavor: Add one more banana in the middle layers, but keep the top garnish fresh until serving to limit browning.
What to Serve With No-Bake Banana Pudding
- Fresh berries: Strawberries or raspberries add color and a bright contrast to the creamy vanilla layers.
- Hot coffee: A dark roast balances the dessert’s sweetness and works well after a relaxed dinner.
- Iced tea: Unsweetened black tea keeps a summer potluck menu refreshing and not overly rich.
- Grilled main dishes: Serve after barbecue chicken, burgers, or grilled vegetables for an oven-free dessert finish.
- Salted nuts: A small bowl of roasted pecans or peanuts adds a crisp, savory contrast alongside each serving.
FAQs
Assemble it four to twelve hours before serving for the best balance of soft wafers and fresh banana texture. It can be refrigerated overnight.
Use firm-ripe bananas, slice them immediately before layering, and keep them covered by pudding. Add any visible banana garnish only at serving time.
No. Cook-and-serve pudding requires heat and has a different setting process, so it will not provide the same reliable no-bake filling.
Yes. Thaw it completely in the refrigerator and use about four cups total, folding half into the pudding and reserving half for the top.
The milk or cream may have been too warm, the pudding may not have rested long enough, or the whipped cream may have been underbeaten.
Freezing is not recommended because the bananas become watery and dark after thawing, while the pudding and whipped cream can separate.
No-Bake Banana Pudding
Equipment
- 9-by-13-inch dish or 3-quart trifle bowl
- Large mixing bowl
- Medium Mixing Bowl
- Electric hand mixer or stand mixer
- Whisk
- Silicone spatula
Ingredients
- 11 oz vanilla wafers About 312g; reserve some for garnish
- 5-6 large bananas Firm-ripe, sliced into rounds
- 14 oz sweetened condensed milk One standard can
- 2 cups whole milk Very cold
- 5.1 oz instant vanilla pudding mix One 144g box
- 2 cups heavy whipping cream Very cold; divided after whipping
- 1/2 cup powdered sugar
- 1 tsp vanilla extract
Instructions
- Reserve several vanilla wafers for garnish and set out a 9-by-13-inch dish or 3-quart trifle bowl.
- Whisk the cold whole milk, sweetened condensed milk, and instant vanilla pudding mix for 2 minutes.
- Let the pudding mixture rest for 5 minutes, until thickened.
- Beat the cold heavy cream, powdered sugar, and vanilla extract until stiff peaks form.
- Fold half of the whipped cream into the thickened pudding until evenly combined and airy.
- Layer vanilla wafers, banana rounds, and half of the pudding filling in the dish.
- Repeat the layers, then spread the remaining whipped cream over the top.
- Cover and refrigerate for at least 4 hours, then garnish with reserved wafers and fresh banana slices before serving.