
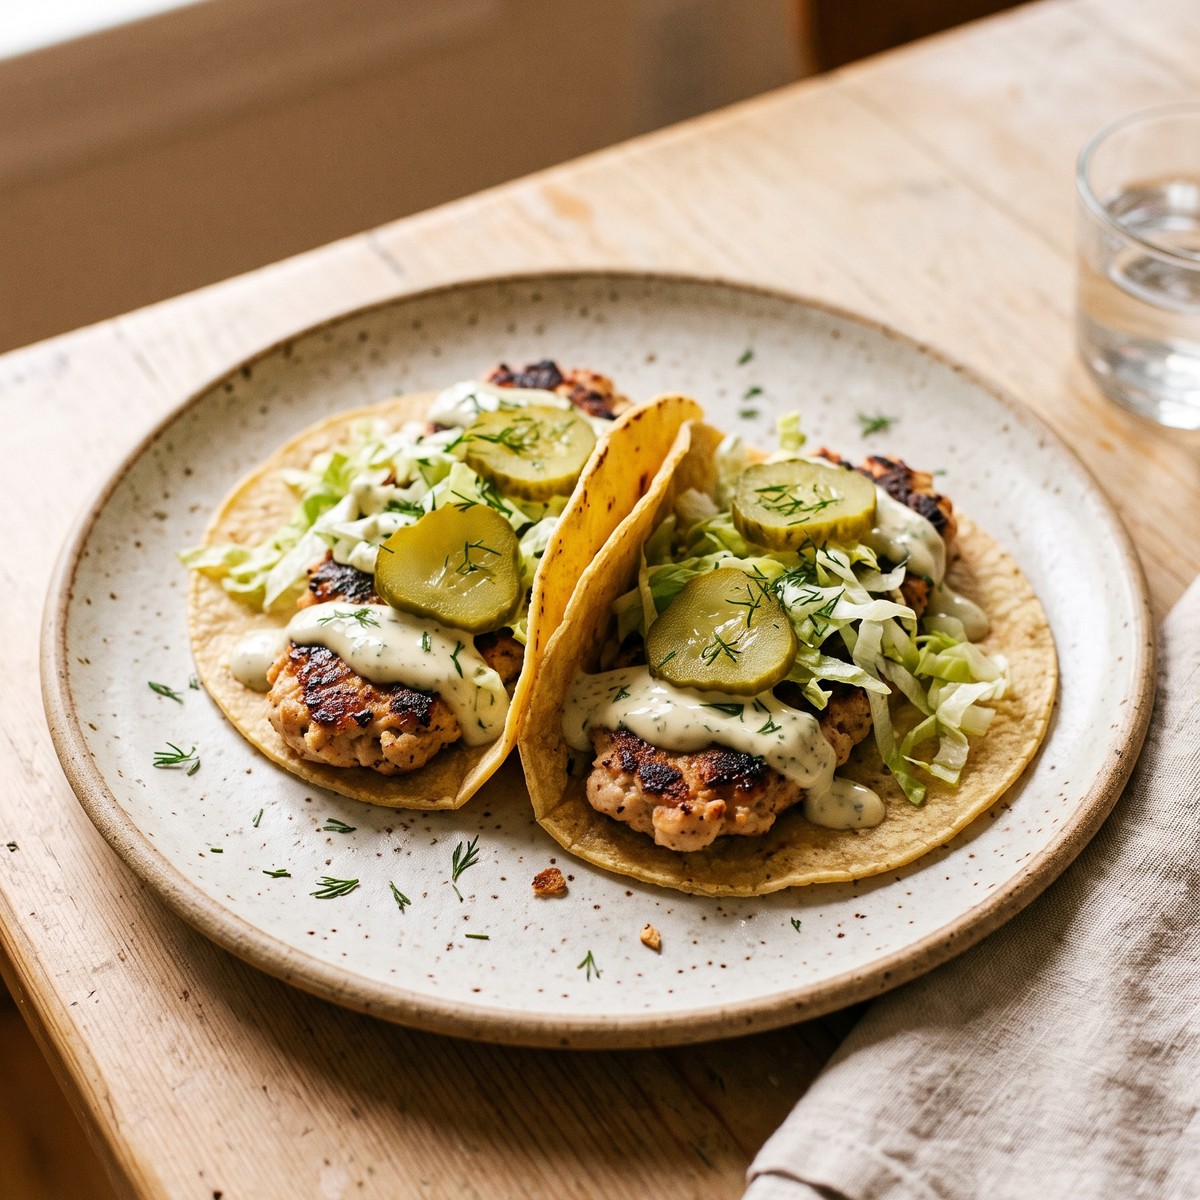
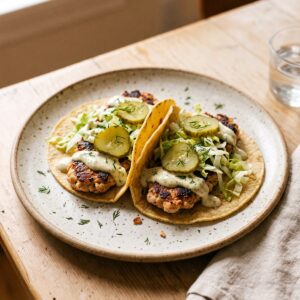
Dill Pickle Smash Chicken Tacos bring together juicy ground chicken, crisp cheese edges, soft flour tortillas, and a cool ranch-pickle finish in one fast skillet dinner. The chicken is pressed directly onto each tortilla, cooked until browned, then flipped so Monterey Jack melts into a lacy frico border around the edges. Dill pickle slices add bright crunch, while dried dill and cracked black pepper sharpen the creamy ranch topping. These tacos are practical for busy nights because the ingredient list is short, the cooking happens in batches, and each taco needs only a few minutes in the pan. Serve them straight from the skillet for the best contrast between crisp, cheesy edges and tender chicken.
Why This Dill Pickle Smash Chicken Tacos Works
This skillet method builds crisp texture, juicy chicken, and tangy contrast without a long prep list.
- Direct smash method: Pressing seasoned ground chicken onto each tortilla creates full contact with the hot pan, helping the meat brown evenly while staying attached.
- Cheesy frico edge: Monterey Jack melts beyond the tortilla rim and crisps against the skillet, giving every taco a golden, savory border.
- Balanced tang: Dill pickles and ranch cut through the rich cheese, keeping each bite bright, creamy, crunchy, and satisfying.
- Fast batch cooking: Each taco cooks in only a few minutes, making the recipe practical for weeknight dinners or casual taco-night spreads.
- Short grocery list: Ground chicken, tortillas, cheese, pickles, ranch, and pantry seasonings handle the full recipe without extra chopping or sauce work.
Ingredients Notes
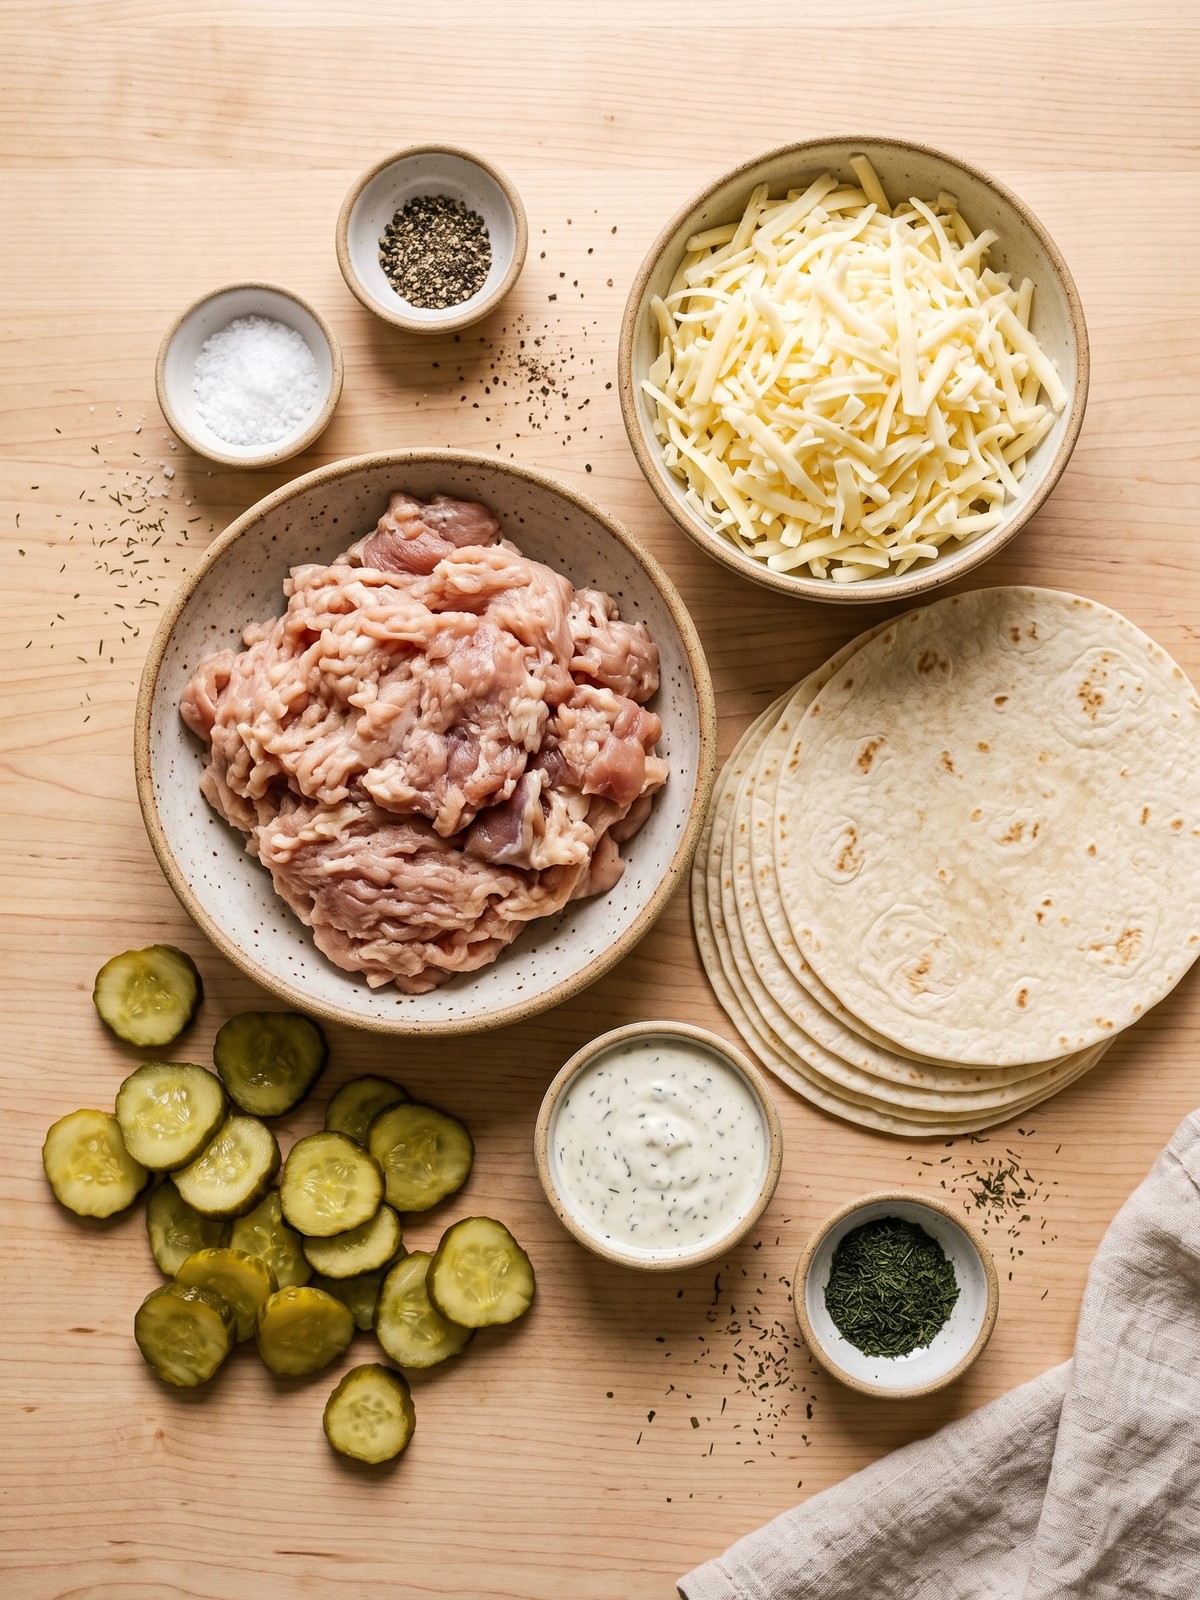
- Ground Chicken (1 lb / 450g): A breast-and-thigh blend gives better moisture and browning than extra-lean breast meat alone, which can turn firm during smashing.
- Monterey Jack Cheese (2 cups / 225g): Freshly shredded cheese melts smoothly and forms the cleanest frico edge. I avoid thick pre-shredded blends here because they release less evenly.
- Soft Flour Tortillas (6-8 small): Six-inch tortillas are sturdy enough for the chicken layer but still flexible after cooking. Choose soft, fresh tortillas without cracked edges.
- Kosher Salt (1/2 teaspoon / 3g): This seasons the chicken directly. Reduce slightly when using especially salty pickles, ranch, or cheese.
- Dill Pickles (18-24 slices): Pat the slices dry so the ranch stays thick and the taco surface does not become watery.
- Creamy Ranch Dressing (1/2 cup / 120ml): A thick refrigerated or bottled ranch sits neatly on the hot tacos. I prefer a cool, spoonable consistency rather than a thin drizzle.
- Dried Dill Flakes (2 teaspoons / 2g): Divide the dill between the chicken and ranch to carry the pickle flavor through every layer.
- Cracked Black Pepper (1 teaspoon / 2g): Coarse pepper adds a sharp finish that stands up to the creamy ranch and mild Monterey Jack.
Before You Begin
- Choose the pan: Use a large nonstick or well-seasoned cast-iron skillet with enough room to cook one or two tacos at a time.
- Dry the pickles: Blot every slice with paper towel before cooking so excess brine does not soften the crisp tortilla and cheese.
- Portion first: Divide the chicken into equal portions before pressing it onto tortillas for even cooking and reliable doneness.
- Keep toppings cool: Refrigerate the ranch and pickles until serving so they contrast with the hot chicken and cheese.
I press the chicken nearly to the tortilla edge with damp fingertips, keeping the layer thin and even so it browns before the tortilla over-crisps.
How to Make Dill Pickle Smash Chicken Tacos
- Step 1 – Season the Chicken: Mix the ground chicken with the kosher salt, 1 teaspoon dried dill, and cracked black pepper until evenly combined without compacting the meat.
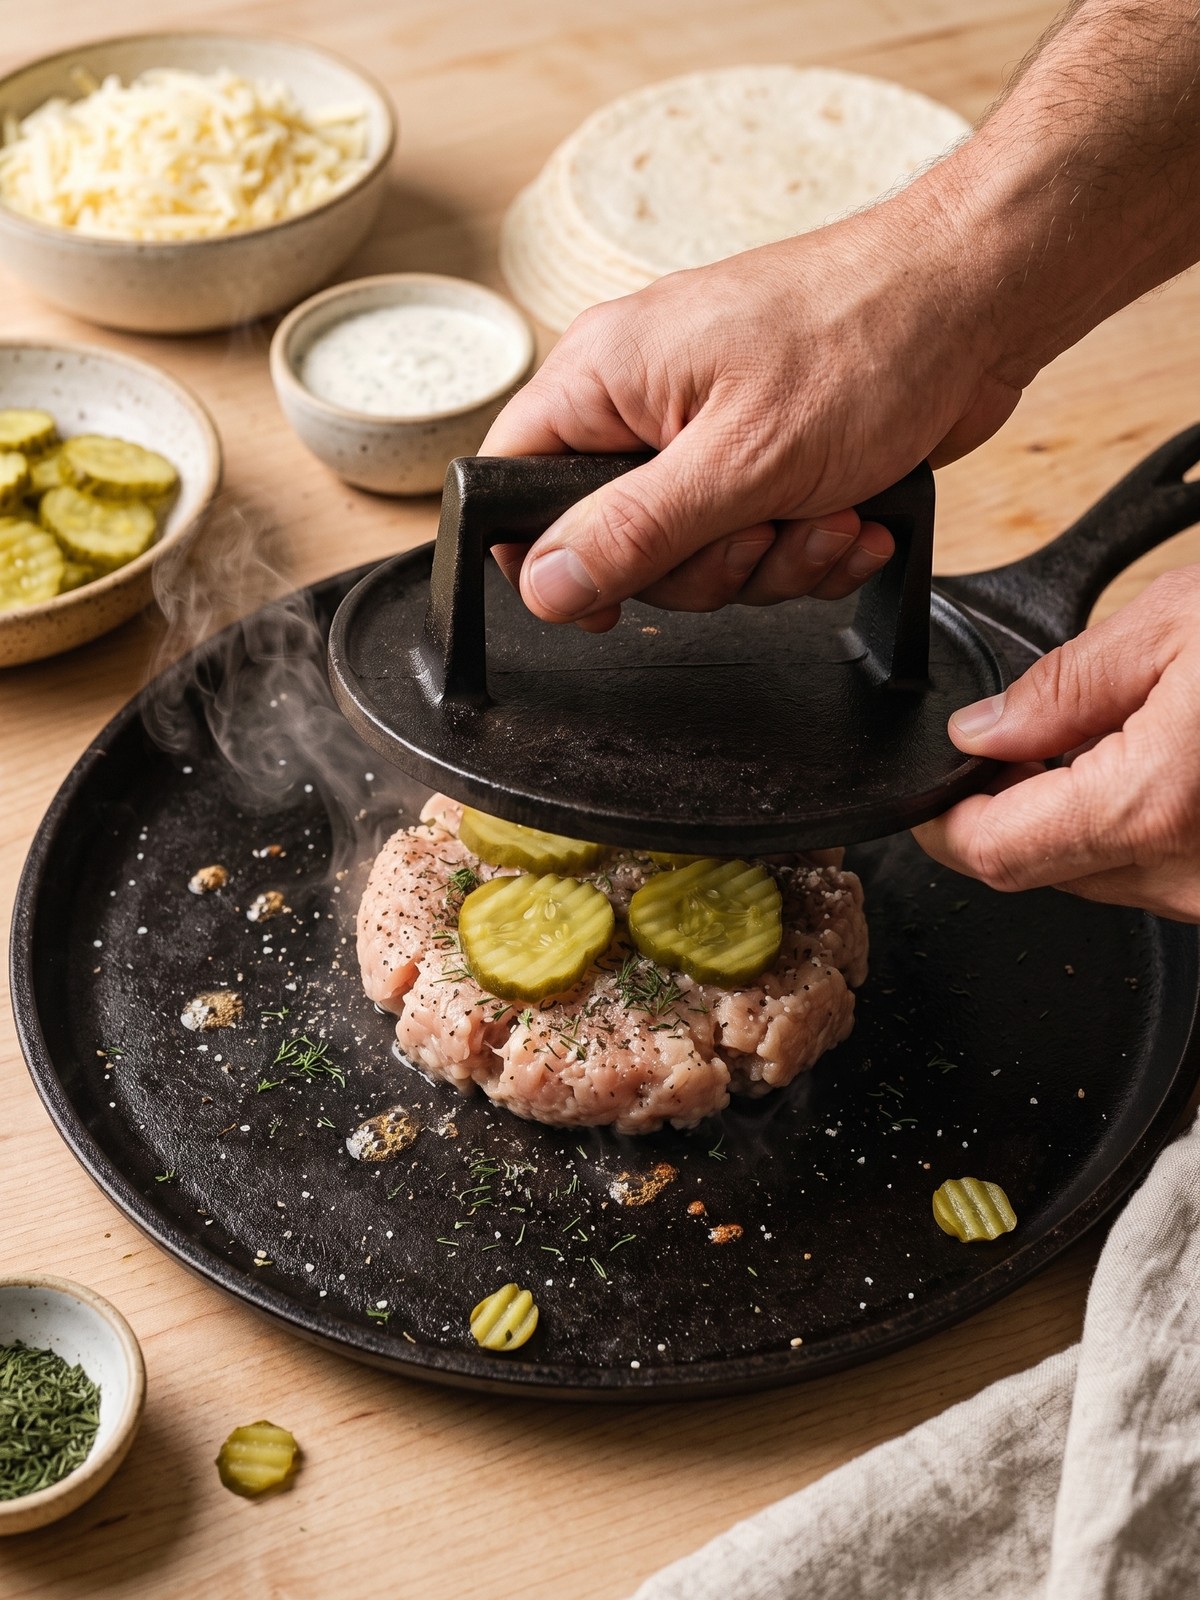
- Step 2 – Press Onto Tortillas: Divide the chicken among 6 to 8 tortillas, then use damp fingertips or parchment to press a thin, even layer almost to each edge.
- Step 3 – Mix the Ranch: Stir the remaining dried dill into the ranch dressing and return it to the refrigerator while the tacos cook.
- Step 4 – Sear the Chicken Side: Heat the skillet over medium-high. Place a tortilla chicken-side down, press firmly with a spatula, and cook 3 to 4 minutes until deeply browned.
- Step 5 – Flip and Add Cheese: Turn the taco tortilla-side down, scatter Monterey Jack over the chicken and slightly beyond the edges, then cover for 1 minute to melt.
- Step 6 – Crisp the Frico Edge: Uncover and cook 1 to 2 minutes more until the exposed cheese turns golden and releases easily from the skillet.
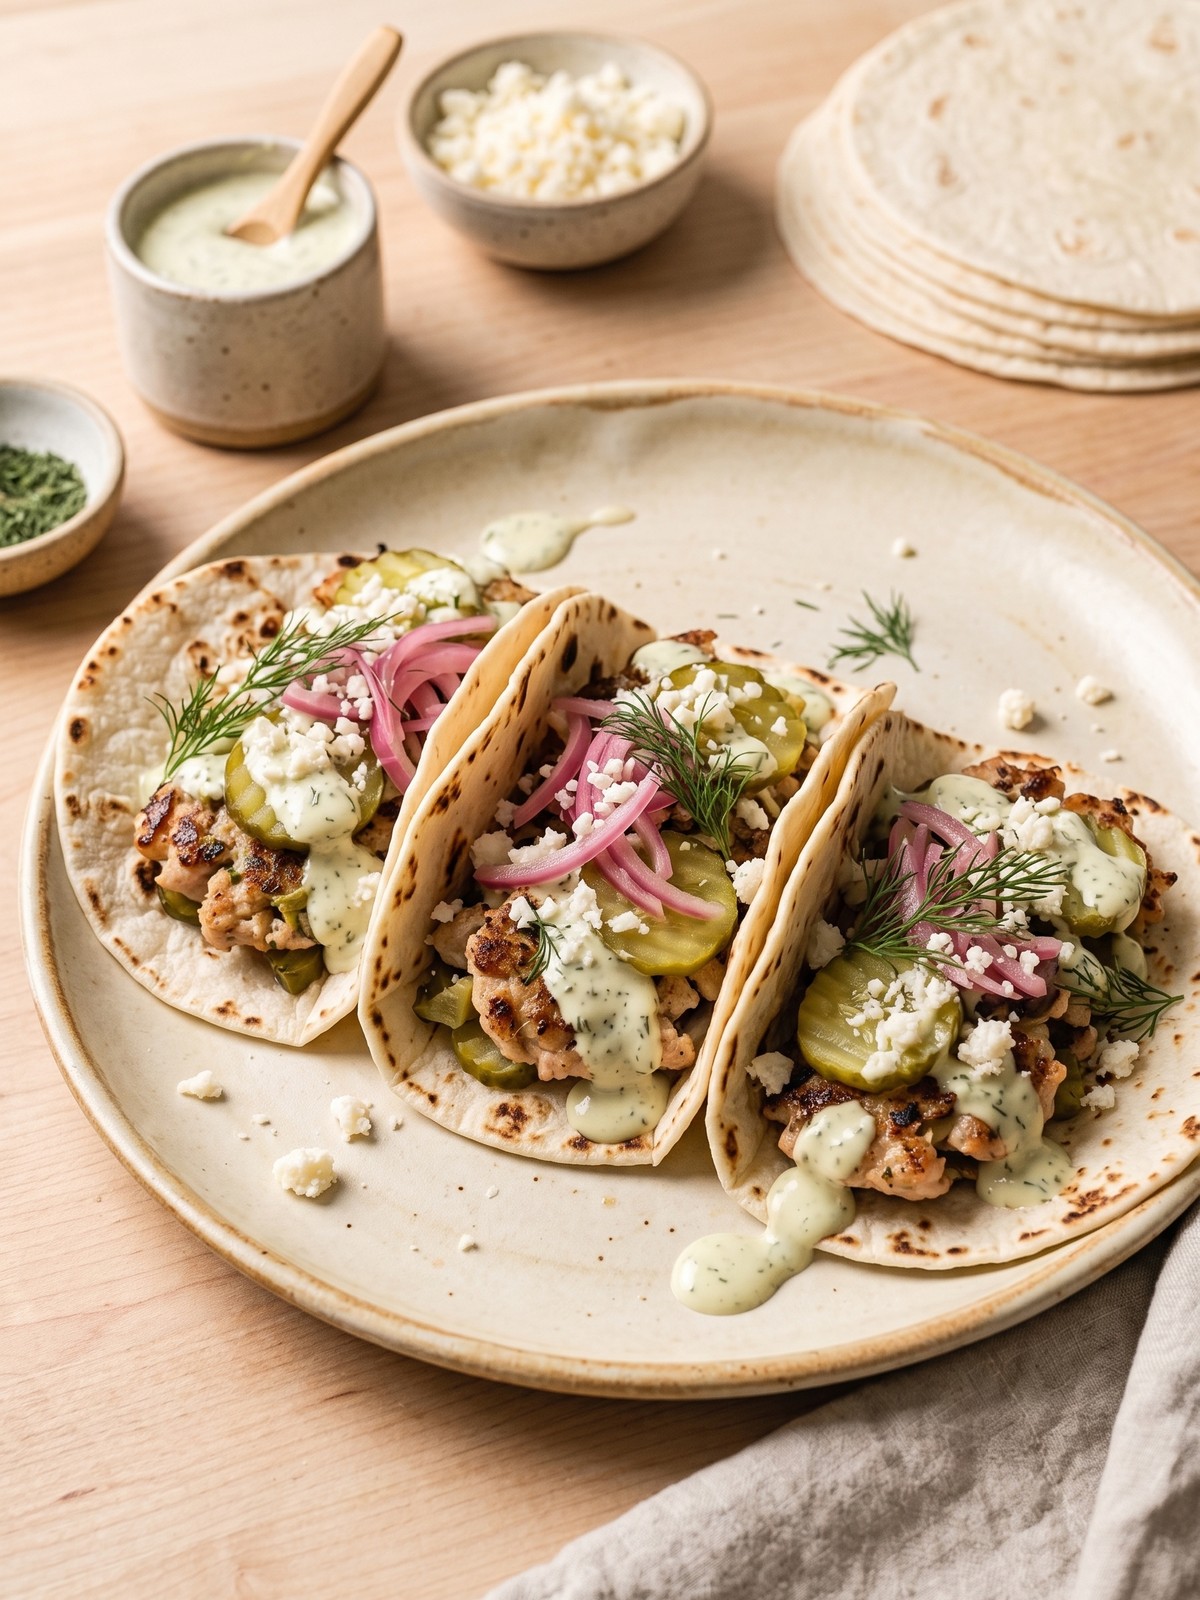
- Step 7 – Finish and Serve: Transfer to a plate, spoon on dill ranch, add 3 pickle slices, fold gently, and serve immediately while the cheese edge is crisp.
How to Know It’s Done
- Safe temperature: The ground chicken should reach 165°F / 74°C at the thickest point before the taco leaves the skillet.
- Browned surface: The chicken side should be deeply golden with no pale, wet, or translucent patches remaining.
- Crisp cheese: The Monterey Jack edge should look lacy and golden, then release cleanly when lifted with a thin spatula.
- Flexible center: The tortilla should be toasted underneath but still bend without cracking when folded around the toppings.
Nora’s Tips for Best Results
- Do not overwork the meat: Mix only until the seasoning is dispersed so the chicken stays tender instead of becoming dense.
- Use medium-high heat: I let the skillet preheat fully, then adjust slightly if the tortilla darkens before the chicken has browned.
- Press once, then leave it: Firm contact at the start creates an even crust; repeated movement can tear the chicken layer away from the tortilla.
- Shred cheese finely: Fine strands melt quickly and spread into a thin frico edge before the tortilla becomes too crisp.
- Cook in small batches: Crowding traps steam and weakens browning, so keep finished tacos warm on a plate while the next batch cooks.
Storage & Leftovers Tips
- Fridge: Refrigerate cooked chicken-tortilla bases in an airtight container for up to 3 days, keeping ranch and pickles in separate containers.
- Freezer: Freeze cooled chicken-tortilla bases between parchment for up to 1 month; expect the cheese edge to lose some crispness.
- Reheat: Warm in a dry skillet over medium heat for 2 to 3 minutes per side until the chicken reaches 165°F / 74°C.
- Avoid the microwave: Microwave reheating is convenient but softens the tortilla and frico edge, so use it only when crisp texture is not essential.
- Food safety: Refrigerate leftovers within 2 hours of cooking and discard any ranch-topped tacos left at room temperature longer than that.
Variations & Substitutions
- Ground turkey: Substitute an equal amount of ground turkey, preferably a blend with some dark meat to protect moisture during searing.
- Cheddar option: Use mild or medium cheddar for a sharper cheese flavor, although Monterey Jack generally forms a smoother frico edge.
- Corn tortillas: Small flexible corn tortillas work, but warm them briefly first so they do not split while the chicken is pressed on.
- Spicy pickle version: Swap in hot dill pickle slices or stir a small spoonful of pickle brine and hot sauce into the ranch.
- Extra crunch: Add finely shredded cabbage after cooking for a fresh, crisp layer that still keeps the dill pickle profile intact.
What to Serve With Dill Pickle Smash Chicken Tacos
- Cabbage slaw: A lightly dressed slaw adds cool crunch without competing with the dill ranch.
- Oven fries: Crisp potato wedges match the pickle-and-ranch flavor profile and make the meal more substantial.
- Corn salad: Sweet corn, scallions, and lime bring a fresh contrast to the rich cheese edge.
- Tomato salad: Juicy tomatoes with a little salt and vinegar keep the plate bright and balanced.
- Extra pickles: Serve chilled pickle spears alongside for anyone who wants a stronger tangy finish.
- Sparkling lemonade: A cold citrus drink cuts through the creamy ranch and melted Monterey Jack.
FAQs
The chicken can be seasoned and portioned up to 24 hours ahead. Press it onto the tortillas shortly before cooking for the best texture.
The thin layer cooks quickly, browns against the skillet, and bonds to the tortilla, creating the signature smash-taco structure without forming separate patties.
Use a fully preheated nonstick or well-seasoned skillet, press firmly at the start, and wait for a browned crust to form before lifting.
Yes. Choose small, flexible corn tortillas and warm them briefly before pressing on the chicken so they bend without cracking during cooking.
Monterey Jack melts evenly and forms a mild, lacy edge. Cheddar also works but may release more oil and taste sharper.
Reheat the untopped taco bases in a dry skillet until hot and crisp, then add cold ranch and pickles just before serving.
Dill Pickle Smash Chicken Tacos
Equipment
- Large nonstick or well-seasoned cast-iron skillet
- Wide spatula
- Mixing bowl
- Parchment paper
- Instant-read thermometer
Ingredients
- 1 lb ground chicken Preferably a mix of breast and thigh
- 2 cups shredded Monterey Jack cheese For the frico edge
- 6-8 small soft flour tortillas 6-inch size
- 1/2 tsp kosher salt
- 18-24 slices dill pickles Circular green slices, patted dry
- 1/2 cup creamy ranch dressing Thick consistency
- 2 tsp dried dill flakes Divided
- 1 tsp cracked black pepper
Instructions
- Mix the ground chicken with the kosher salt, 1 teaspoon dried dill, and cracked black pepper until the seasonings are evenly distributed.
- Divide the chicken among 6 to 8 tortillas and press it into a thin, even layer almost to the edges using damp fingertips or parchment.
- Stir the remaining dried dill into the ranch dressing and keep it chilled until serving.
- Heat a large nonstick or well-seasoned skillet over medium-high, then cook one tortilla chicken-side down for 3 to 4 minutes while pressing firmly with a spatula.
- Flip the taco tortilla-side down, scatter Monterey Jack over the chicken and slightly beyond the edges, then cover for 1 minute to melt.
- Uncover and cook for 1 to 2 minutes more until the exposed cheese edge is golden and the chicken reaches 165°F / 74°C.
- Transfer the taco to a plate, add dill ranch and 3 pickle slices, fold gently, and serve immediately. Repeat with the remaining tortillas.