
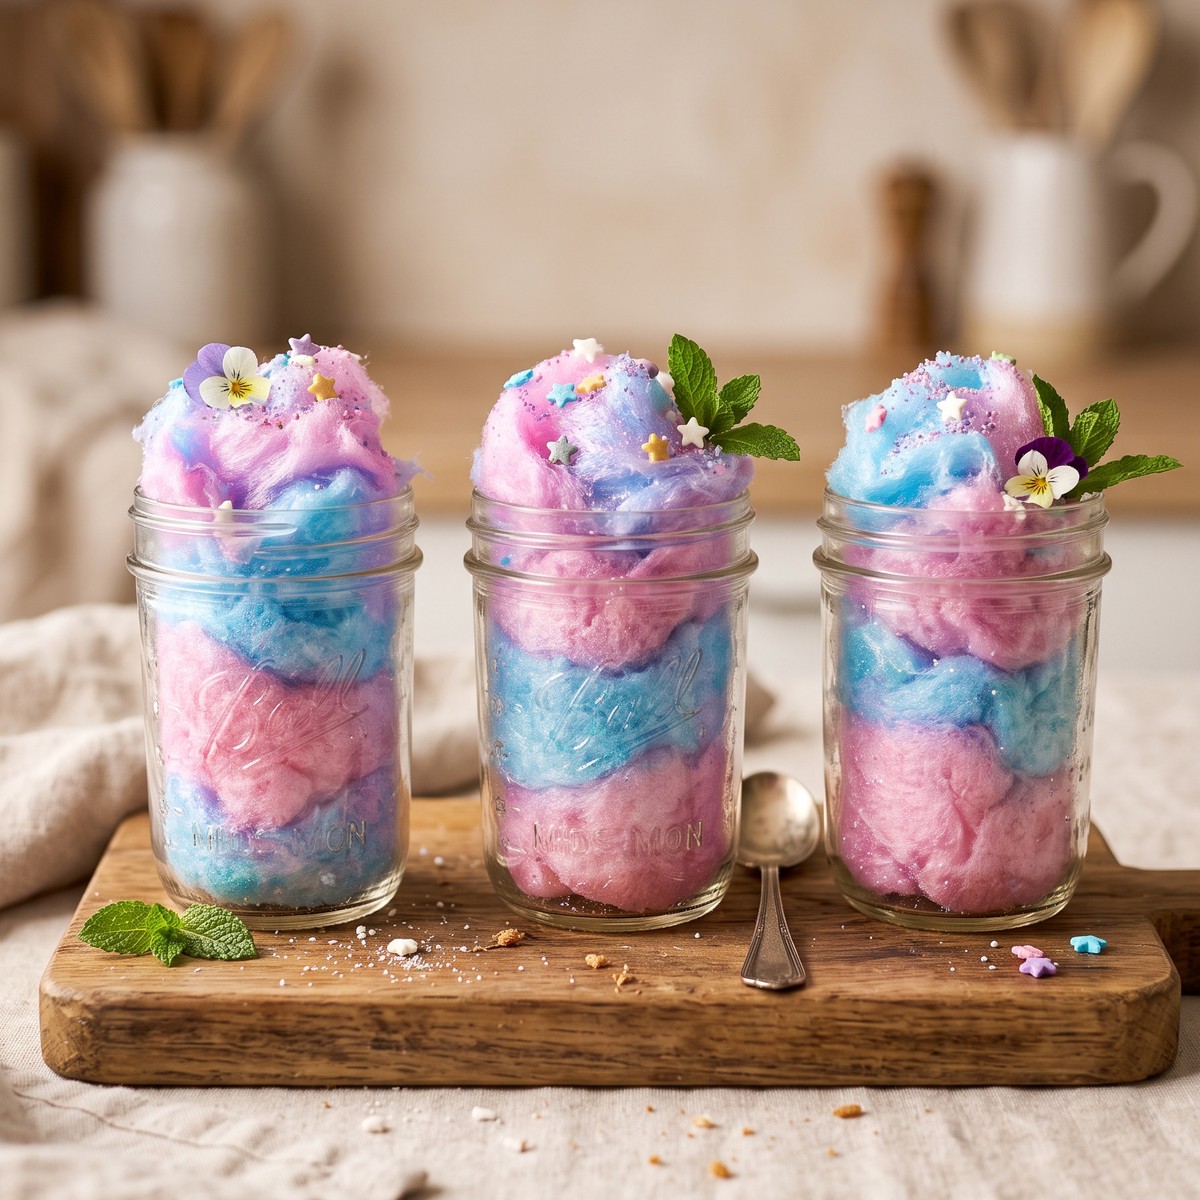
DIY Cotton Candy Glow Jars are a whimsical craft that transforms simple cotton balls into glowing, pastel-colored decor using liquid dyes, glitter, and LED lights. This no-bake project takes about 15 minutes of hands-on time and creates a soft, magical glow perfect for party centerpieces, nightlights, or shelf decor. The cotton balls absorb the dye and dry into fluffy, cloud-like puffs that look just like spun sugar, while the iridescent glitter adds a subtle sparkle. Once the submersible LED light is tucked inside, the jar casts a dreamy, cotton-candy-inspired glow that feels both playful and polished.
Why This DIY Cotton Candy Glow Jars Works
This craft is a clever way to get a high-impact look with minimal effort and supplies.
- No special skills needed: The process is simple enough for crafters of any level, and the results look impressive.
- Quick drying time: The dyed cotton balls dry in about 30 minutes, so you can finish the project in under an hour.
- Customizable colors: Swap the neon pink and pastel blue for any dye colors to match your party theme or room decor.
- Safe, flameless glow: The submersible LED light eliminates fire risk and can be turned on and off easily.
- Budget-friendly: Most supplies are inexpensive and easy to find at craft stores or online.
- Reusable: The jar and LED light can be used again for other crafts or decor.
Ingredients Notes
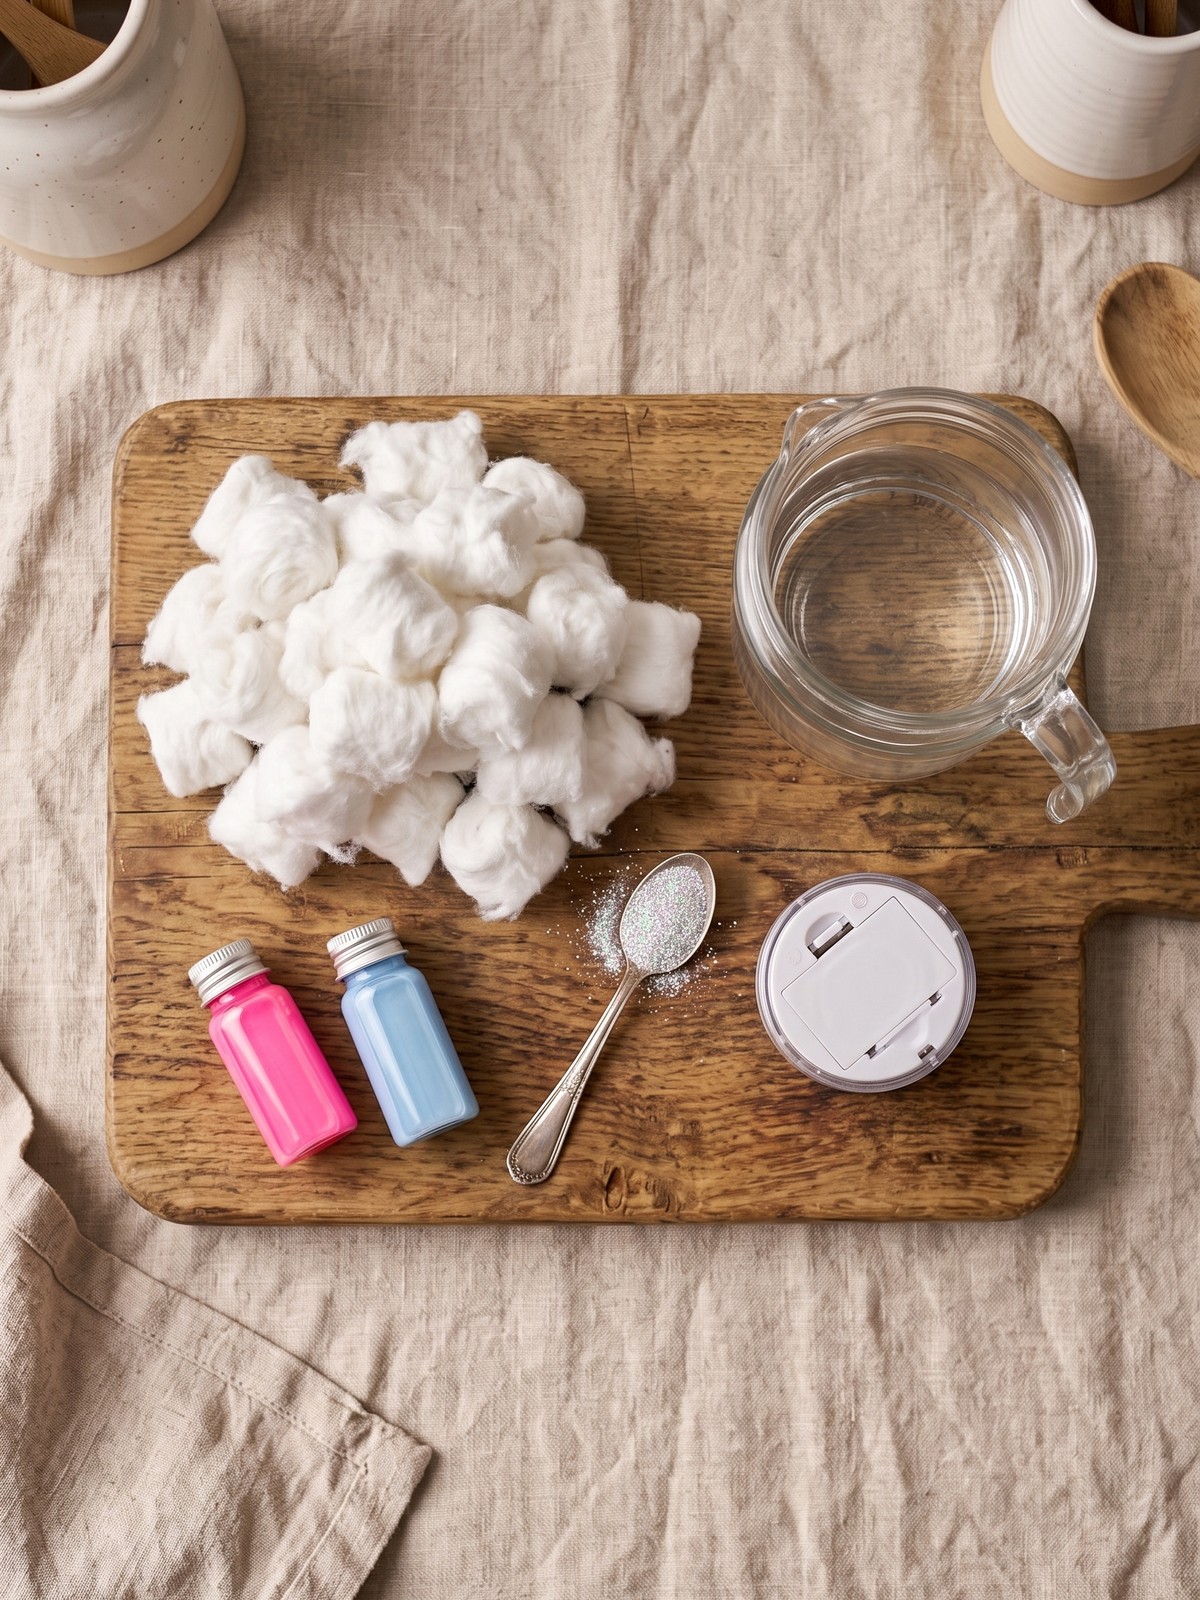
- 150 count White Cotton Balls (Compressed): Compressed cotton balls fluff up nicely when separated and hold the dye well. Avoid synthetic or pre-colored cotton balls.
- 1 tbsp Neon Pink Liquid Dye (Vibrant pigment): Liquid dye gives a more even, watercolor-like effect than gel or powder. Neon pink creates that classic cotton candy look.
- 1 tbsp Pastel Blue Liquid Dye (Soft pigment): Pastel blue adds a soft, dreamy contrast. You can adjust the amount for a lighter or deeper tint.
- 1 tsp Iridescent Silver Glitter (Fine grain): Fine glitter sticks to the damp cotton better than chunky glitter. Iridescent silver catches the light without overpowering the pastel colors.
- 1 unit Submersible LED Light (Battery operated): A small, waterproof LED light is essential for the glow effect. Make sure it’s fully submerged in the jar for even lighting.
- 240 ml Distilled Water (1 cup): Distilled water prevents mineral spots on the glass and helps the dye mix smoothly.
Before You Begin
- Gather your supplies: Have all ingredients measured and ready. You’ll also need a clean glass jar, a mixing bowl, a spoon, and paper towels for drying.
- Protect your work surface: Liquid dye can stain, so cover your table with newspaper or a craft mat.
- Separate the cotton balls: Gently pull each compressed cotton ball apart into a fluffy, cloud-like shape. This helps them absorb dye evenly.
- Test the LED light: Make sure the submersible light works and the battery is fresh before you start assembling.
I like to use a clear glass jar with a wide mouth so it’s easy to arrange the cotton balls and tuck the LED light inside without disturbing the fluff.
How to Make DIY Cotton Candy Glow Jars
- Step 1 – Mix the dye bath: In a small bowl, combine 240 ml distilled water with 1 tablespoon neon pink liquid dye. Stir gently until the color is even.
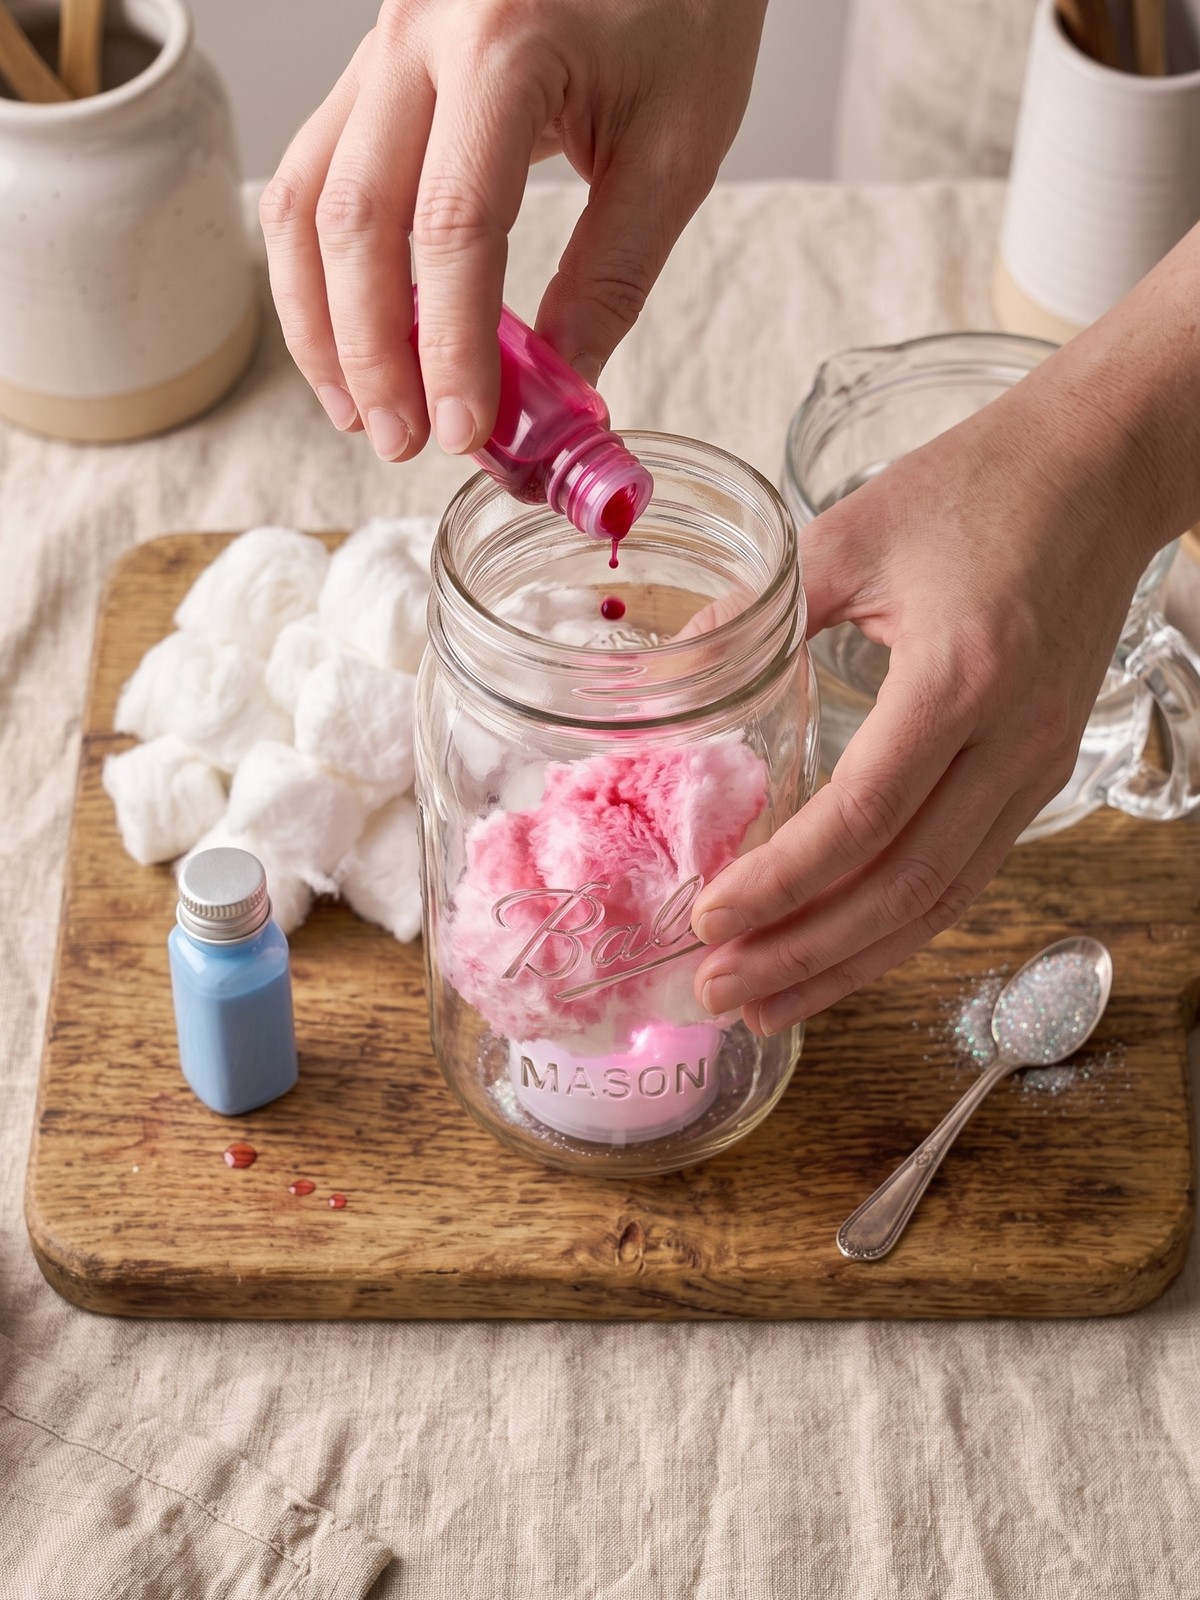
- Step 2 – Dye the pink cotton balls: Take half of the separated cotton balls and dip them one at a time into the pink dye bath. Let each one soak for about 5 seconds, then gently squeeze out excess dye and place it on a paper towel to dry. Repeat until you have a batch of pink cotton balls.
- Step 3 – Mix the blue dye bath: Rinse the bowl and mix the remaining 240 ml distilled water with 1 tablespoon pastel blue liquid dye. Stir until smooth.
- Step 4 – Dye the blue cotton balls: Dip the remaining separated cotton balls into the blue dye bath using the same method. Squeeze out excess dye and set them on a fresh paper towel to dry.
- Step 5 – Add glitter: While the cotton balls are still slightly damp, sprinkle the iridescent silver glitter evenly over both the pink and blue batches. The glitter will stick to the damp cotton as it dries.
- Step 6 – Let them dry: Allow the cotton balls to air-dry completely, about 30 minutes. They should feel fluffy and dry to the touch, not wet or heavy.
- Step 7 – Assemble the jar: Once dry, layer the pink and blue cotton balls inside a clean glass jar. Start with a few pink, then add blue, and continue alternating until the jar is full. Leave a small space in the center for the LED light.
- Step 8 – Insert the light: Turn on the submersible LED light and gently push it into the center of the cotton balls. Adjust the cotton around it so the light is hidden but the glow shines through.
How to Know It’s Done
- Cotton balls are fully dry: They should feel light and fluffy, not damp or clumpy. If they’re still wet, the dye may bleed onto the glass.
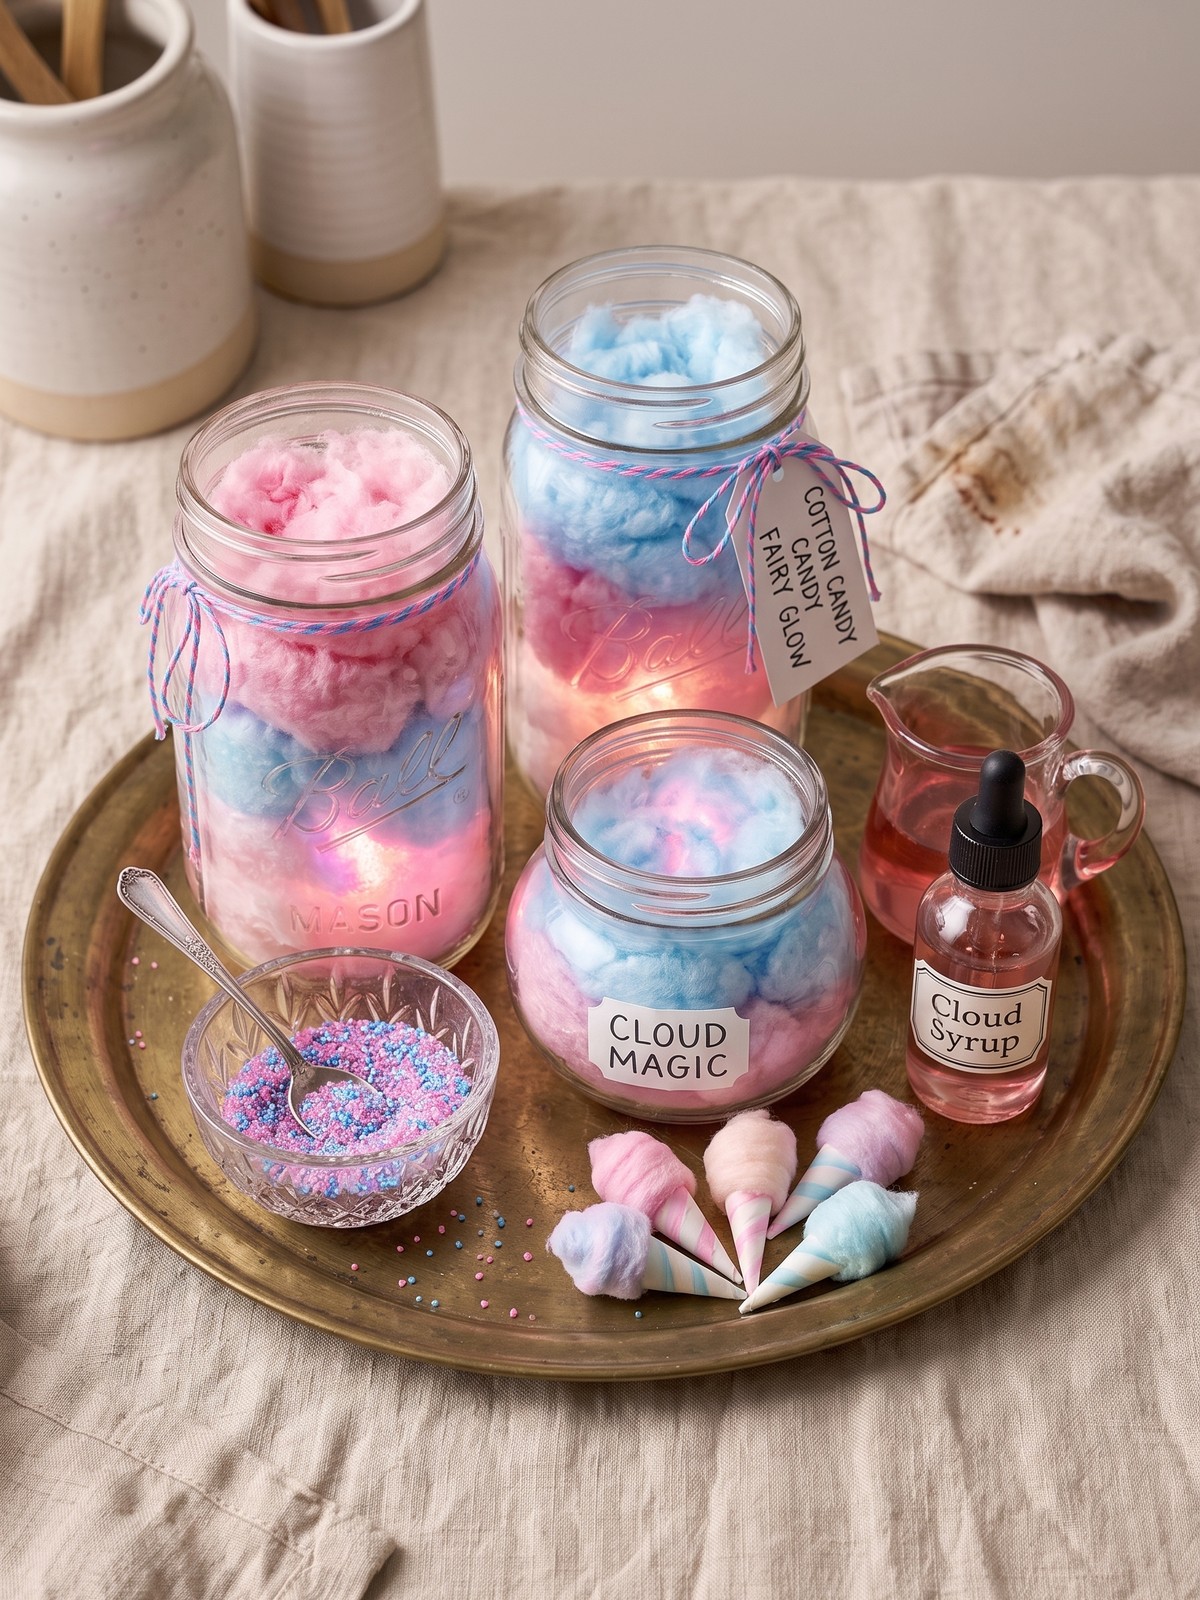
- Glow is even: When the LED light is on, the jar should emit a soft, diffused glow without harsh bright spots.
- Colors are vibrant: The pink and blue should look pastel and candy-like, not muddy or faded.
- Glitter sparkles: The glitter should catch the light and add a subtle shimmer without falling off.
Nora’s Tips for Best Results
- I find that using distilled water really does make a difference—it keeps the glass from getting cloudy spots as the jar sits.
- Don’t oversaturate the cotton balls. A quick dip is enough; too much dye makes them heavy and slow to dry.
- If you want a more intense color, add an extra drop of dye to the water, but keep the pastel vibe by not overdoing it.
- For a longer-lasting glow, use an LED light with a timer function so it turns off automatically after a few hours.
- Fluff the cotton balls again after they dry if they look flattened—this brings back the cloud-like texture.
- If glitter isn’t sticking well, lightly mist the cotton balls with water from a spray bottle before sprinkling.
Storage & Leftovers Tips
- Keep the jar dry: Store the assembled jar in a cool, dry place away from humidity to prevent the cotton from wilting.
- Dust gently: If the cotton gets dusty, use a soft brush or canned air to clean it without disturbing the arrangement.
- Replace the battery: The LED light battery lasts about 48-72 hours of continuous use; keep spare batteries on hand.
- Reuse the jar: The glass jar can be washed and reused for other crafts once you remove the cotton and light.
- Store extra dyed cotton: Any leftover dyed cotton balls can be kept in a sealed bag for touch-ups or future projects.
Variations & Substitutions
- Different color combos: Try lavender and mint green, or peach and pale yellow for a different candy-inspired look.
- Add essential oils: Mix a drop of vanilla or cotton candy fragrance oil into the dye bath for a subtle scent.
- Use a mason jar: A tinted mason jar adds a vintage feel and softens the glow even more.
- Fairy lights instead of LED: If you don’t have a submersible light, tuck a short string of battery-operated fairy lights into the cotton.
- Larger jar centerpiece: Scale up the project with a bigger jar and more cotton balls for a statement piece on a party table.
- Glow-in-the-dark glitter: Swap regular glitter for glow-in-the-dark glitter for an extra magical effect when the lights are off.
What to Serve With DIY Cotton Candy Glow Jars
- Cotton candy mocktails: Pair the jars with pastel-colored drinks for a coordinated party table.
- Fairy bread: Serve this classic sprinkle-covered treat for a whimsical snack that matches the theme.
- Macarons: Pink and blue macarons echo the cotton candy colors and add an elegant touch.
- Popcorn bar: Set up a popcorn station with pastel-colored candy melts and sprinkles for a fun, interactive snack.
- Cloud cookies: Soft, pillowy meringue cookies look like little clouds next to the glow jars.
- Cotton candy cupcakes: Top vanilla cupcakes with cotton candy-flavored frosting and a tuft of real cotton candy.
FAQs
Yes, food coloring works, but the colors may be less vibrant and could fade over time. Liquid craft dye gives longer-lasting results.
Most submersible LED lights run for 48-72 hours on a single battery. You can extend the life by turning it off when not in use.
Tap water can leave mineral spots on the glass as it dries. Distilled water is recommended for a cleaner finish.
Liquid dye can temporarily stain skin. Wear gloves or wash hands immediately after handling dyed cotton balls.
Yes, you can dye the cotton balls up to a week in advance and store them in a sealed bag. Assemble the jar the day of your event for the freshest look.
Yes, submersible LED lights are cool to the touch and safe for extended use. They’re a great alternative to candles.
Plastic jars work, but glass gives a clearer, more polished look. If using plastic, make sure it’s clean and scratch-free.
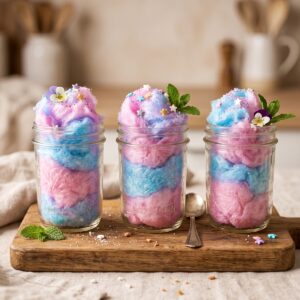
DIY Cotton Candy Glow Jars
Equipment
- Glass jar
- Mixing bowl
- Spoon
- Paper towels
Ingredients
- 150 count White Cotton Balls Compressed
- 1 tbsp Neon Pink Liquid Dye Vibrant pigment
- 1 tbsp Pastel Blue Liquid Dye Soft pigment
- 1 tsp Iridescent Silver Glitter Fine grain
- 1 unit Submersible LED Light Battery operated
- 240 ml Distilled Water 1 cup
Instructions
- Mix the pink dye bath by combining 240 ml distilled water with 1 tbsp neon pink liquid dye in a bowl.
- Dip half of the separated cotton balls into the pink dye, squeeze out excess, and place on paper towels to dry.
- Rinse the bowl and mix the blue dye bath with remaining water and 1 tbsp pastel blue liquid dye.
- Dip the remaining cotton balls into the blue dye, squeeze out excess, and set on fresh paper towels.
- Sprinkle iridescent silver glitter over the damp cotton balls and let them dry completely, about 30 minutes.
- Layer the dried pink and blue cotton balls inside a clean glass jar, leaving space in the center.
- Turn on the submersible LED light and tuck it into the center of the cotton balls, then adjust the cotton around it.