
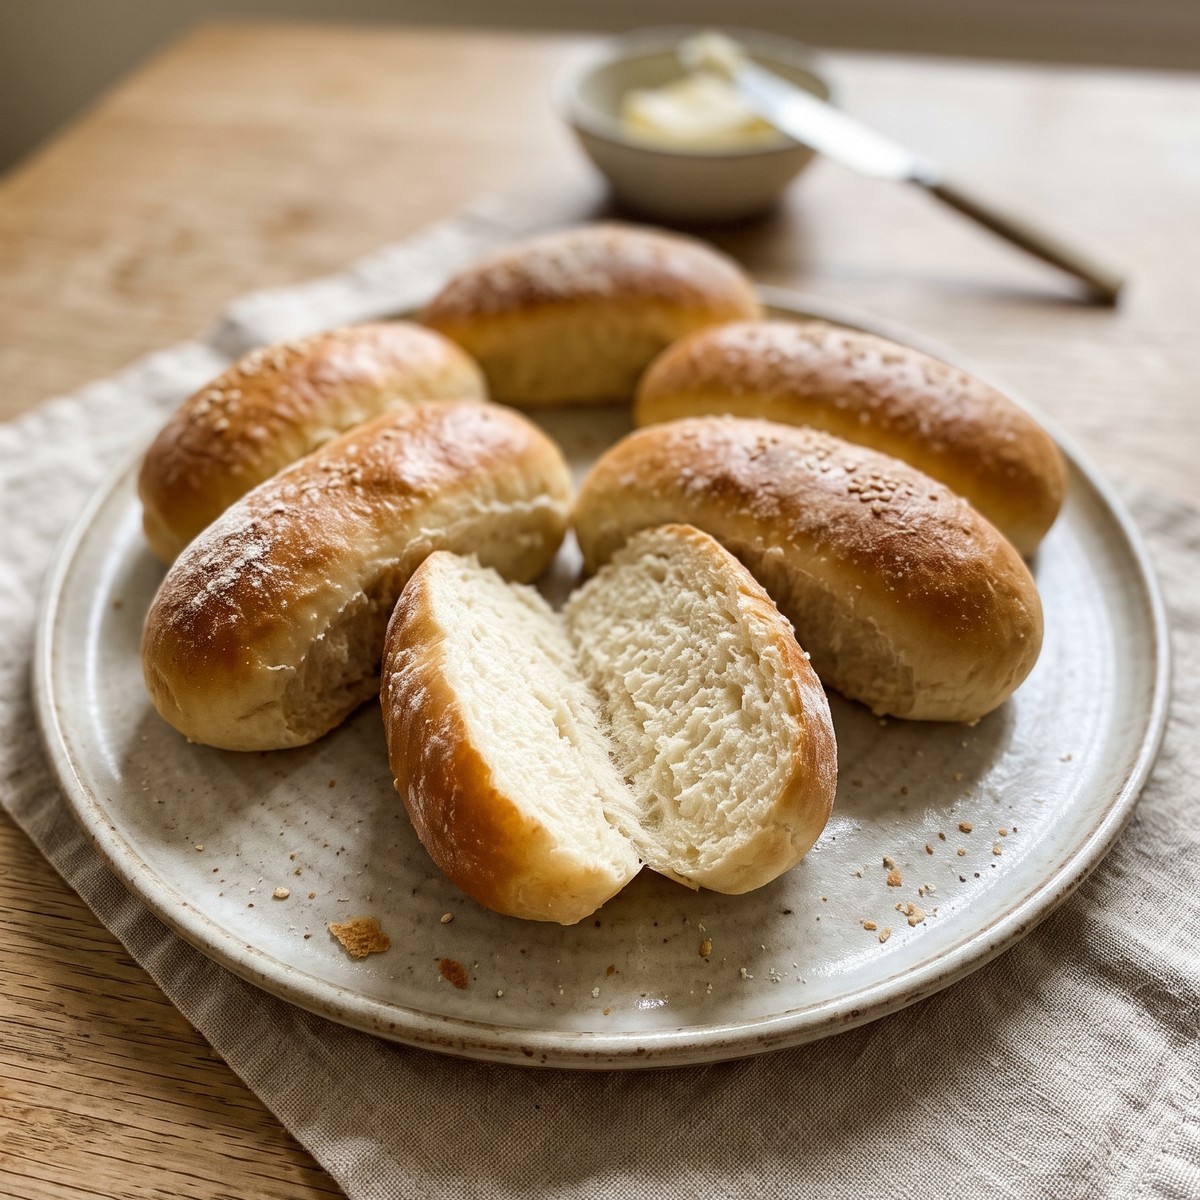
Homemade Hot Dog Buns are soft, golden, and surprisingly simple to make from scratch. With a tender crumb, a light sweetness, and that classic bakery-style split top, these buns turn any hot dog night into something special. The dough comes together with basic pantry ingredients, and after a short rise and a quick bake, you’ll have fresh, warm buns that beat anything from a bag. Perfect for summer BBQs, fun dinners for kids, or anytime you want a homemade touch, this recipe is a reliable go-to.
Why This Homemade Hot Dog Buns Works
These buns deliver soft texture, golden tops, and fresh flavor with minimal effort. Here’s why they’re a keeper:
- Soft, tender crumb: The enriched dough with milk, butter, and egg creates a pillowy texture that holds up to juicy hot dogs without falling apart.
- Perfect shape: Rolling the dough into logs and placing them side by side in the pan gives you that classic pull-apart hot dog bun shape with soft sides.
- Golden, glossy tops: An egg wash before baking adds a beautiful shine and rich color that makes them look bakery-made.
- Make-ahead friendly: The dough can be prepared in advance and refrigerated overnight, so you can bake fresh buns right before serving.
- Kid-approved: Mildly sweet and soft, these buns are a hit with kids and make any meal feel fun and special.
- Versatile base: Use the same dough for burger buns, dinner rolls, or even small sandwich loaves with a few simple tweaks.
Ingredients Notes
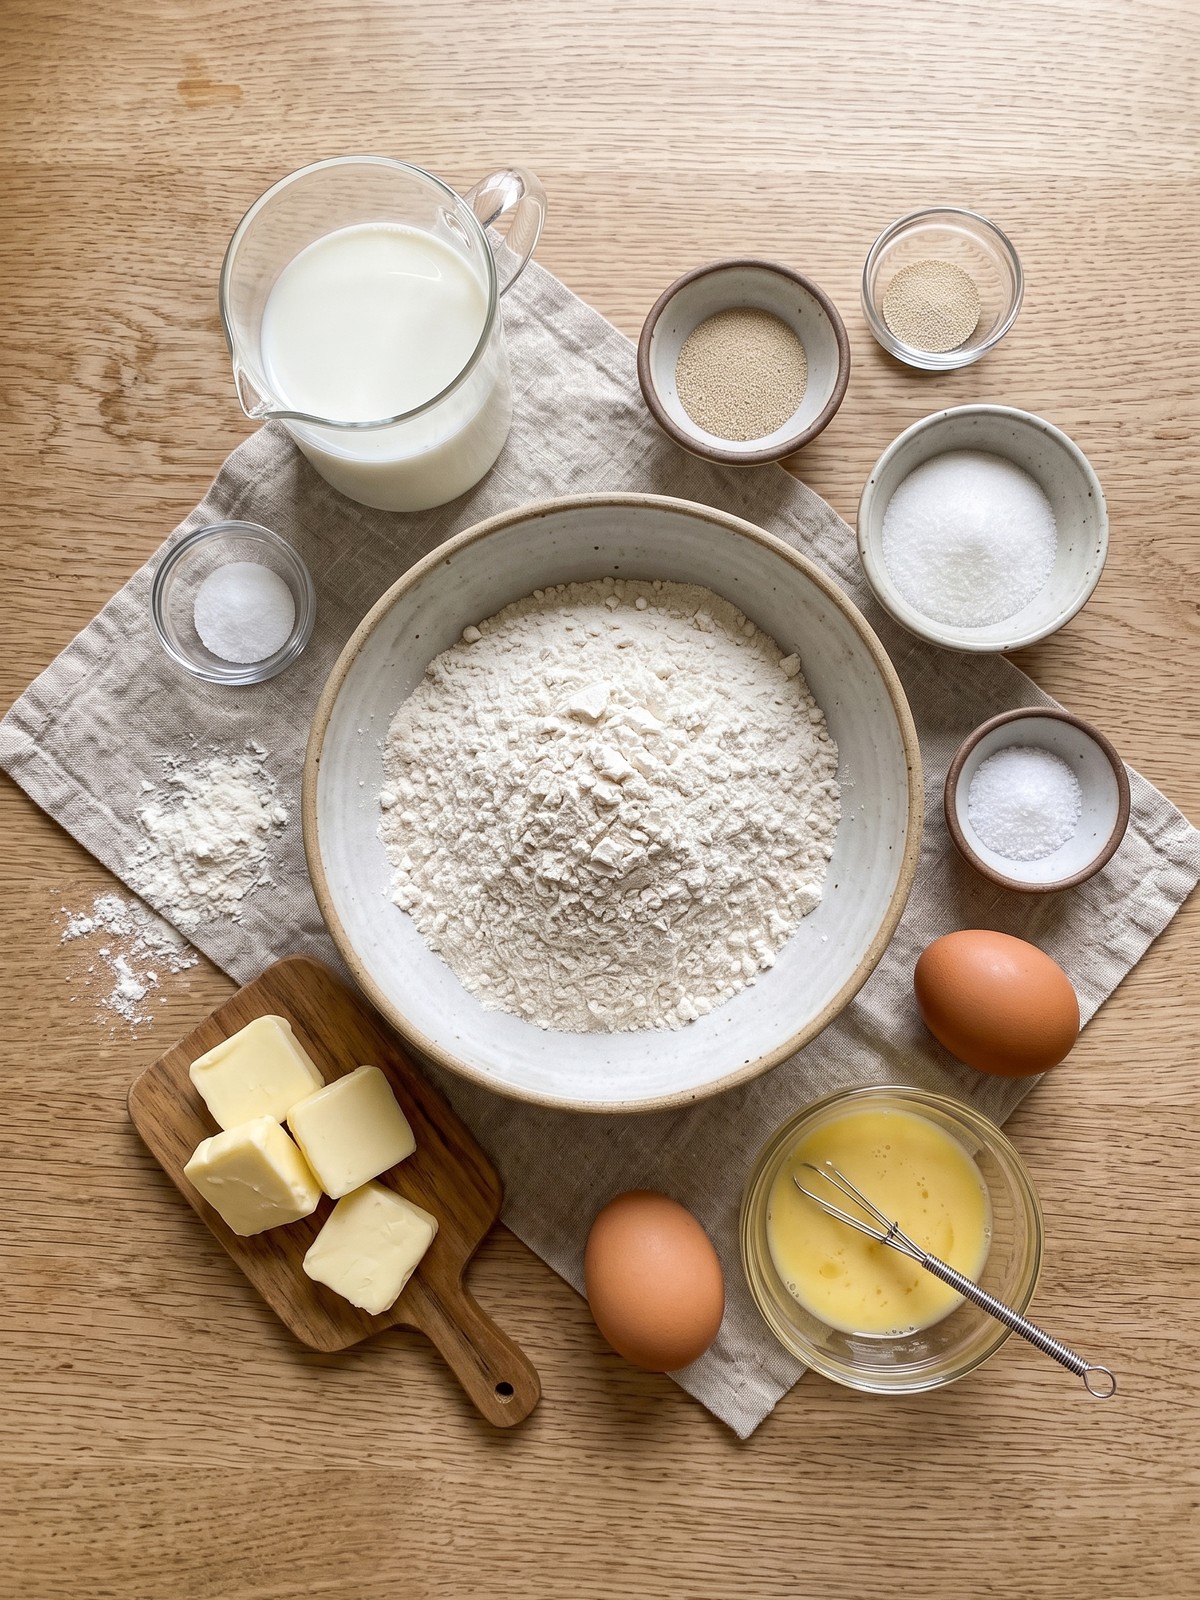
- All-Purpose Flour (3 ½ cups / 435g): Provides the right balance of structure and tenderness. Bread flour can be used for a slightly chewier bun, but all-purpose gives a softer result.
- Whole Milk (1 cup / 240ml, warmed to 110°F): Adds richness and helps activate the yeast. The warmth should feel like bath water—too hot will kill the yeast.
- Active Dry Yeast (2 ¼ tsp / 7g): One standard packet. Make sure it’s fresh for a good rise. If using instant yeast, you can mix it directly with the flour.
- Granulated Sugar (3 tbsp / 38g): Feeds the yeast and adds a subtle sweetness that balances the savory hot dog. Don’t skip it—it’s key for flavor and browning.
- Unsalted Butter (4 tbsp / 55g, softened): Enriches the dough for a tender crumb. Soften it at room temperature so it incorporates smoothly.
- Fine Sea Salt (1 ½ tsp / 9g): Enhances flavor and controls yeast activity. Use fine salt so it dissolves evenly.
- Large Egg (1, room temperature): Adds structure and richness to the dough. Room temperature eggs blend in more easily.
- Large Egg (1, beaten for glaze): Mixed with water to create a shiny, golden crust. Apply it gently so you don’t deflate the risen dough.
- Water (1 tbsp / 15ml): Thins the egg wash for a smooth, even glaze.
Before You Begin
- Check yeast freshness: If your yeast is past its expiration date or has been open for a while, proof it in the warm milk with a pinch of sugar. It should foam within 5–10 minutes.
- Bring ingredients to room temperature: Take the egg and butter out about 30 minutes before starting. Cold ingredients can slow down the rise.
- Prepare your pan: A 9×13-inch metal baking pan works best. Lightly grease it or line with parchment paper so the buns release easily after baking.
- Plan for rising time: The dough needs about 1–1½ hours for the first rise and 30–45 minutes for the second. Factor this into your meal prep.
For the softest buns, I always weigh my flour instead of scooping. Too much flour makes the dough dense, so if you don’t have a scale, spoon the flour into the measuring cup and level it off.
How to Make Homemade Hot Dog Buns
- Step 1 – Activate the Yeast: In a small bowl, combine the warm milk (110°F), sugar, and yeast. Stir gently and let it sit for 5–10 minutes until foamy and bubbly. If it doesn’t foam, start over with fresh yeast.
- Step 2 – Mix the Dough: In a large mixing bowl or the bowl of a stand mixer, whisk together the flour and salt. Add the softened butter, room temperature egg, and the yeast mixture. Mix with a dough hook or by hand until a shaggy dough forms.
- Step 3 – Knead Until Smooth: Knead the dough on a lightly floured surface or with the mixer on medium-low speed for 8–10 minutes, until it’s smooth, elastic, and slightly tacky but not sticky. Add a little more flour if it’s too sticky, but keep it soft.
- Step 4 – First Rise: Shape the dough into a ball and place it in a lightly greased bowl. Cover with plastic wrap or a clean kitchen towel and let it rise in a warm, draft-free spot for 1–1½ hours, or until doubled in size.
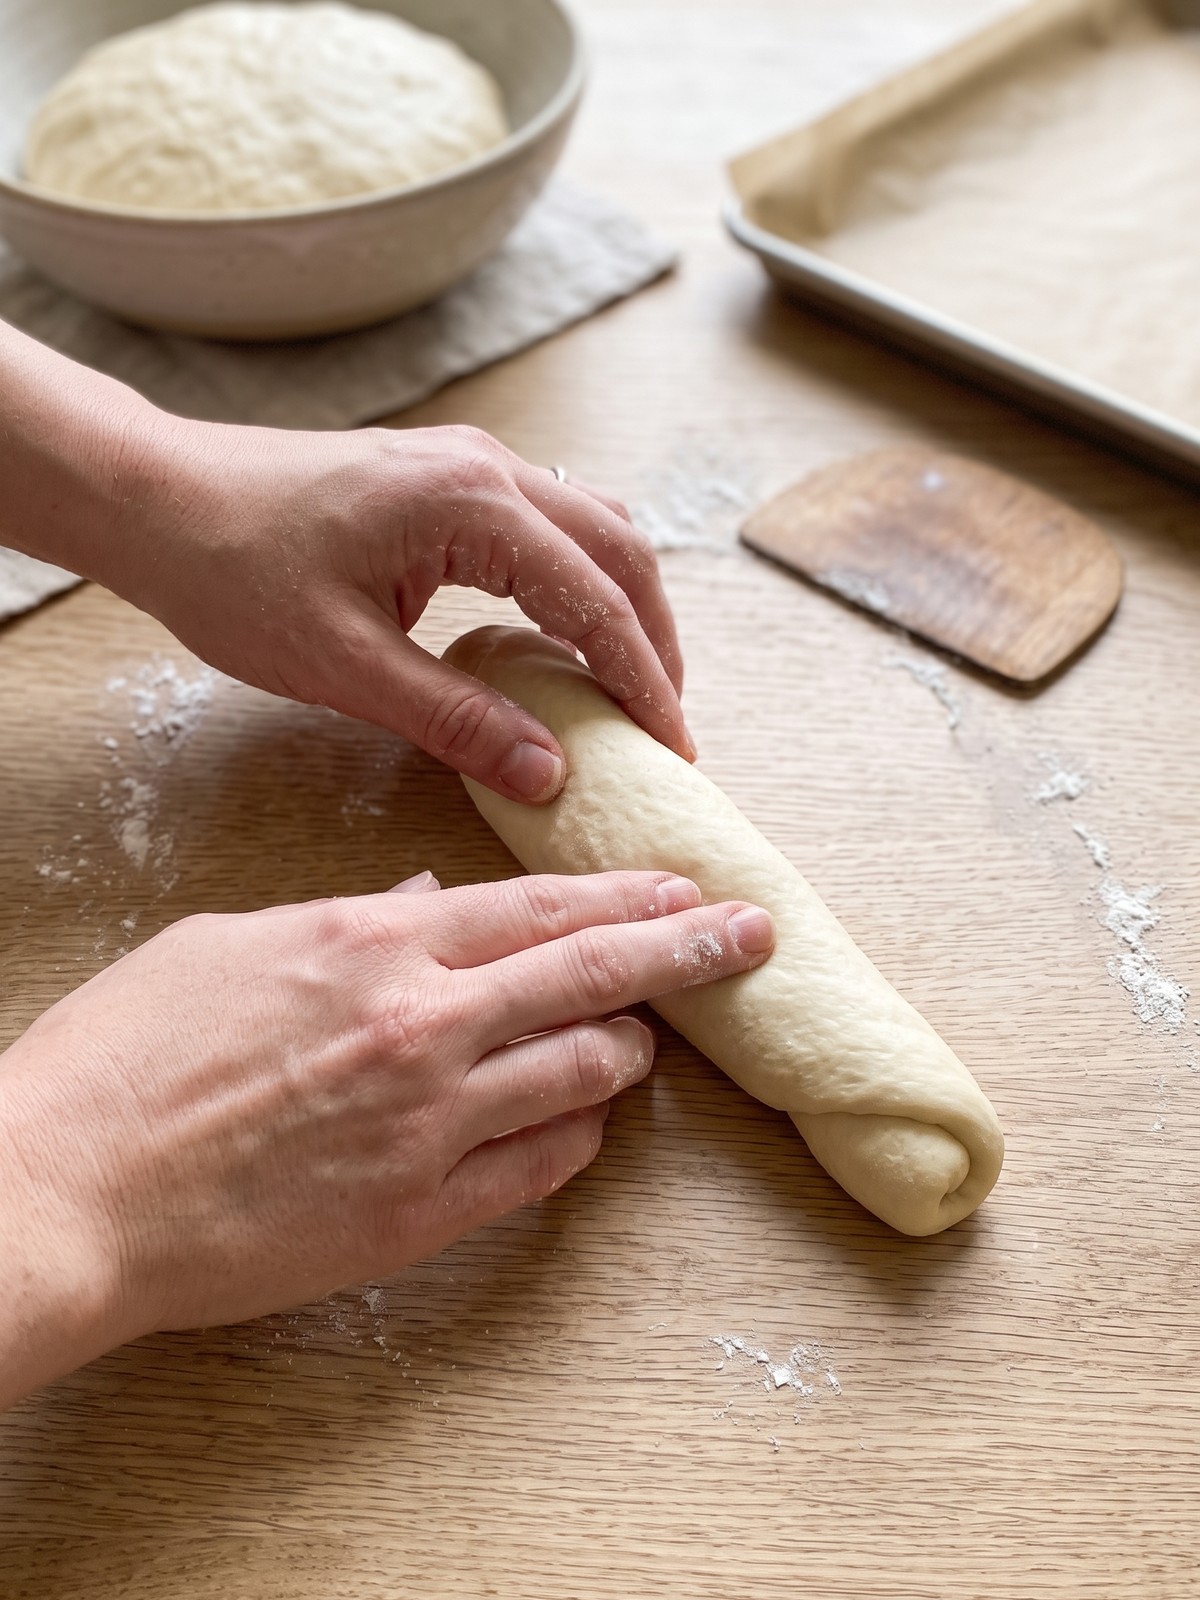
- Step 5 – Shape the Buns: Punch down the dough and turn it out onto a lightly floured surface. Divide it into 8 equal pieces (about 100g each). Roll each piece into a smooth log about 5–6 inches long, slightly tapered at the ends. Place them seam-side down in the prepared 9×13-inch pan, leaving a little space between each.
- Step 6 – Second Rise: Cover the pan loosely with plastic wrap or a towel and let the buns rise for 30–45 minutes, until puffy and touching each other. Meanwhile, preheat the oven to 375°F (190°C).
- Step 7 – Egg Wash and Bake: In a small bowl, beat the remaining egg with 1 tablespoon of water. Gently brush the tops of the risen buns with the egg wash, being careful not to deflate them. Bake for 15–18 minutes, until deep golden brown on top.
- Step 8 – Cool and Serve: Remove the pan from the oven and let the buns cool in the pan for 5 minutes, then transfer them to a wire rack to cool completely. Slice them open from the top, leaving the bottom connected, and fill with your favorite hot dogs.
How to Know It’s Done
- Visual cues: The buns should be deep golden brown on top and puffed up nicely. The sides will be soft and pale where they touched each other.
- Internal temperature: For the most accurate check, insert an instant-read thermometer into the center of a bun—it should read 190°F–200°F (88°C–93°C).
- Tap test: The buns should sound hollow when tapped on the bottom. If they feel heavy or doughy, bake for another 2–3 minutes.
- Cooling: Let them cool for at least 10–15 minutes before slicing. Cutting too soon can make them gummy inside.
Nora’s Tips for Best Results
- Use a scale for accuracy: I always weigh my flour and divide the dough by weight for evenly sized buns. It makes a big difference in texture and baking time.
- Don’t rush the rise: A slow, steady rise at room temperature develops better flavor and texture. If your kitchen is cold, place the dough in the oven with just the light on.
- Shape tightly: Roll each piece into a tight log and pinch the seams closed. This helps the buns rise evenly and hold their shape.
- Egg wash just before baking: Apply the egg wash right before the pan goes into the oven. If you do it too early, it can dry out and won’t give as glossy a finish.
- Cool completely before storing: Warm buns will create condensation in a bag, making them soggy. Let them cool fully on a wire rack first.
Storage & Leftovers Tips
- Room temperature: Store cooled buns in an airtight container or zip-top bag at room temperature for up to 3 days. They’re best the first day but stay soft.
- Freezer: Freeze fully cooled buns in a freezer-safe bag for up to 2 months. Thaw at room temperature or warm in a 300°F oven for 5–10 minutes.
- Reheating: To refresh day-old buns, wrap them in foil and warm in a 350°F oven for 5–7 minutes. You can also split and toast them lightly.
- Make-ahead dough: After the first rise, punch down the dough, cover tightly, and refrigerate overnight. The next day, shape, let rise, and bake as directed.
- Texture tip: Avoid storing buns in the fridge, as that can dry them out faster. Room temperature or freezer is best.
Variations & Substitutions
- Whole wheat blend: Swap up to half of the all-purpose flour with white whole wheat flour for a slightly nutty flavor and more fiber. You may need an extra tablespoon of milk.
- Butter alternatives: Use an equal amount of softened coconut oil or a neutral vegetable oil, though the flavor will be less rich.
- Dairy-free option: Replace the milk with unsweetened oat or almond milk and use a vegan butter substitute. The buns will still be soft and delicious.
- Sesame or poppy seed topping: After the egg wash, sprinkle sesame seeds, poppy seeds, or everything bagel seasoning on top before baking.
- Mini buns: Divide the dough into 12 pieces instead of 8 for slider-sized buns. Reduce the baking time by 2–3 minutes.
- Herb-garlic buns: Add 1 teaspoon of garlic powder and 1 tablespoon of dried Italian herbs to the flour for a savory twist that’s great with sausages.
What to Serve With Homemade Hot Dog Buns
- Classic hot dogs: Fill with grilled all-beef franks and your favorite toppings like mustard, ketchup, relish, and sauerkraut for a timeless meal.
- Chili cheese dogs: Top with hearty beef chili, shredded cheddar, and diced onions for a messy, delicious dinner.
- BBQ pulled pork: These buns are sturdy enough to hold saucy pulled pork and coleslaw for a summer BBQ plate.
- Grilled sausages: Use them for bratwurst, Italian sausage, or chicken sausage with peppers and onions.
- Side dishes: Pair with crispy oven fries, a simple green salad, corn on the cob, or baked beans for a complete meal.
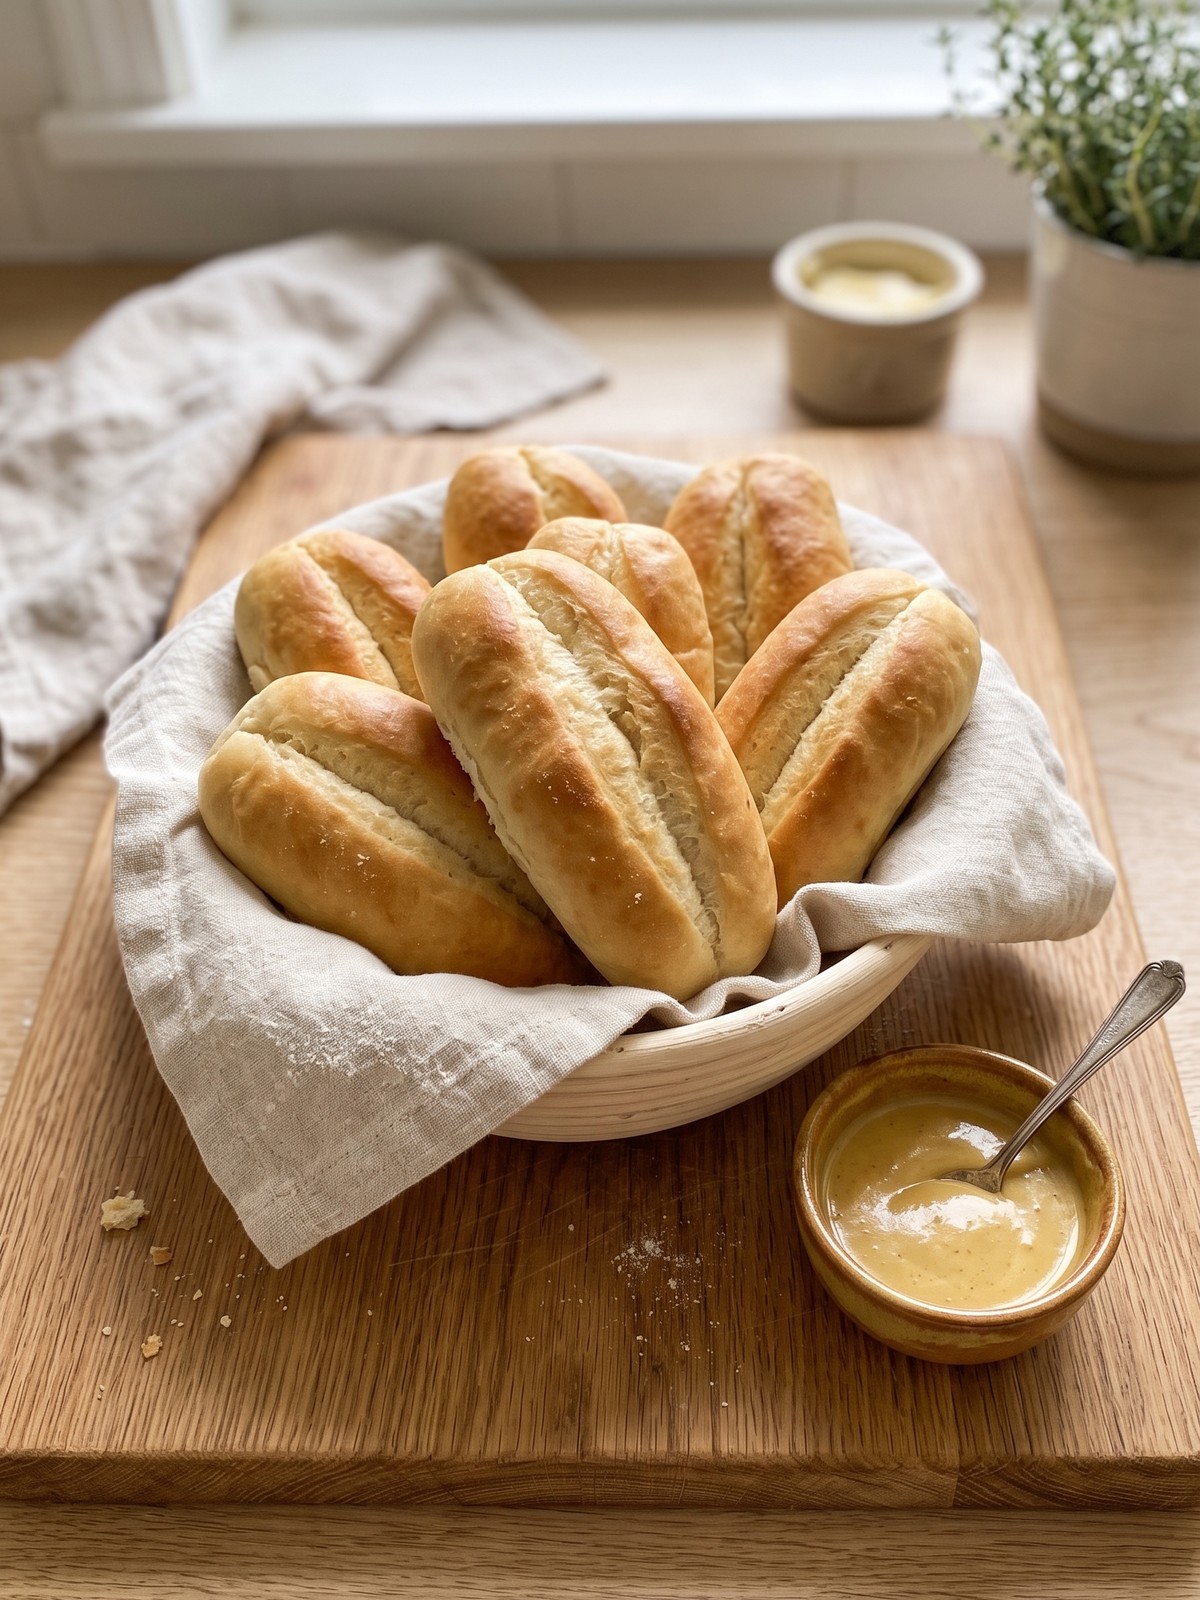
- Dipping sauces: Serve with ketchup, honey mustard, chipotle mayo, or cheese sauce for extra flavor.
FAQs
Yes, after the first rise, punch down the dough, cover tightly, and refrigerate overnight. The next day, shape the buns, let them rise, and bake as directed. The cold dough may need a slightly longer second rise.
Absolutely. Let the buns cool completely, then place them in a freezer-safe bag. They keep well for up to 2 months. Thaw at room temperature or warm in a 300°F oven for 5–10 minutes.
The most common reason is inactive yeast. Make sure your yeast is fresh and the milk is between 105°F–110°F. Too hot will kill the yeast; too cool will slow it down. Also, give the dough a warm, draft-free spot to rise.
Yes, you can use the same amount of instant yeast. Mix it directly with the flour and skip the proofing step. The rise times may be slightly shorter, so keep an eye on the dough.
The key is using the right amount of flour—weighing it is best. Knead until the dough is smooth and elastic, and don’t skip the butter and egg, which add tenderness. Also, avoid overbaking.
For the dough, you can try a flax egg (1 tablespoon ground flaxseed + 3 tablespoons water) but the texture may be slightly denser. For the glaze, brush with melted butter or milk instead of egg wash for a softer crust.
Use a serrated knife and slice from the top, leaving the bottom connected. This creates a hinge that holds the hot dog securely. Slice when the buns are completely cool to avoid squishing them.
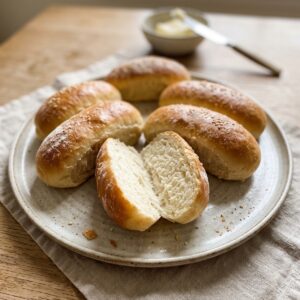
Homemade Hot Dog Buns
Equipment
- 9×13-inch baking pan
- Stand mixer with dough hook (optional)
- Mixing bowls
- Plastic wrap or kitchen towel
- Pastry brush
Ingredients
- 3 ½ cups all-purpose flour plus extra for dusting
- 1 cup whole milk warmed to 110°F
- 2 ¼ tsp active dry yeast one standard packet
- 3 tbsp granulated sugar
- 4 tbsp unsalted butter softened
- 1 ½ tsp fine sea salt
- 1 large egg room temperature
- 1 large egg beaten for glaze
- 1 tbsp water mixed with egg for glaze
Instructions
- In a small bowl, combine warm milk (110°F), sugar, and yeast. Let sit for 5–10 minutes until foamy.
- In a large bowl or stand mixer, whisk together flour and salt. Add softened butter, room temperature egg, and yeast mixture. Mix until a shaggy dough forms.
- Knead dough on a floured surface or with a dough hook for 8–10 minutes until smooth and elastic.
- Place dough in a greased bowl, cover, and let rise in a warm place for 1–1½ hours until doubled.
- Punch down dough and divide into 8 equal pieces. Roll each into a 5–6 inch log and place seam-side down in a greased 9×13-inch pan.
- Cover pan and let rise for 30–45 minutes until puffy. Preheat oven to 375°F (190°C).
- Beat remaining egg with 1 tbsp water. Gently brush over risen buns. Bake for 15–18 minutes until deep golden brown.
- Cool in pan for 5 minutes, then transfer to a wire rack to cool completely before slicing.